This genius hack uses a fork to help you hang art quickly and efficiently, and let’s just say, our minds are blown. Long gone are the days of having to press your face against the wall to line up the wire hook and nail.
Wall art has long become an easy way to decorate bare and tired-looking walls in any room in your home, with many favouring gallery wall ideas as a first port of call for hanging treasured photos of loved ones or depictions of your favourite things.
While there are some well-known techniques that help assist with creating the perfect gallery wall in the realm of measurements alone, one of the biggest issues with hanging wall art is matching the nail with the hook first try.
Well, this hack might’ve just solved that problem. With just the use of an everyday utensil, you can hang art successfully on the first try – and we only wish we had known about it sooner.
(Image credit: Future PLC/Jonathon Day)
Hanging wall art with fork hack
‘For such a simple task, hanging a picture frame, especially on your own can be very frustrating due to not being able to see where the nail is, hanging the picture lopsided and all sorts of complications,’ admits Nick Ee, product and training manager at home improvement specialist, Black + Decker.
‘But there’s a handy DIY hack involving a fork that makes hanging pictures a piece of cake.’
(Image credit: Future PLC/Katie Lee)
While this hack has been around for a while now to assist people in curating their picture-perfect living room wall art ideas and bedroom wall decor displays, it’s only just recently cropped up again on our social media feeds and it was too good not to share.
Brit Arnesen (@britdotdesign) recently took to Instagram to share this genius hack with her following of over 120,000. She regularly posts and shares about her home, life, and DIY projects, and this little trick to hanging art is no different.
In the caption to her video, Brit writes, ‘I learned this trick for hanging art with a fork recently and my mind was quite literally blown! Have you tried it before? It works so well!’
The video received praise and a similar surprised (and equally enlightened) reaction from fans, with one comment saying, ‘No forking way! That’s cool!’ Another comment reads, ‘Life hack! I always stand with my face planted against the wall trying to find the nail ‘
(Image credit: Future PLC/Joanna Henderson)
But, how exactly does this trick work? Replying to a comment, Brit explains, ‘You slide the fork onto your nail and use the handle of it to guide the wire on the back of the frame.’
She continues, ‘It just helps to make sure you don’t miss the nail a thousand times and end up with a bunch of scratch marks on the wall above the frame from all the failed attempts like I always do.’
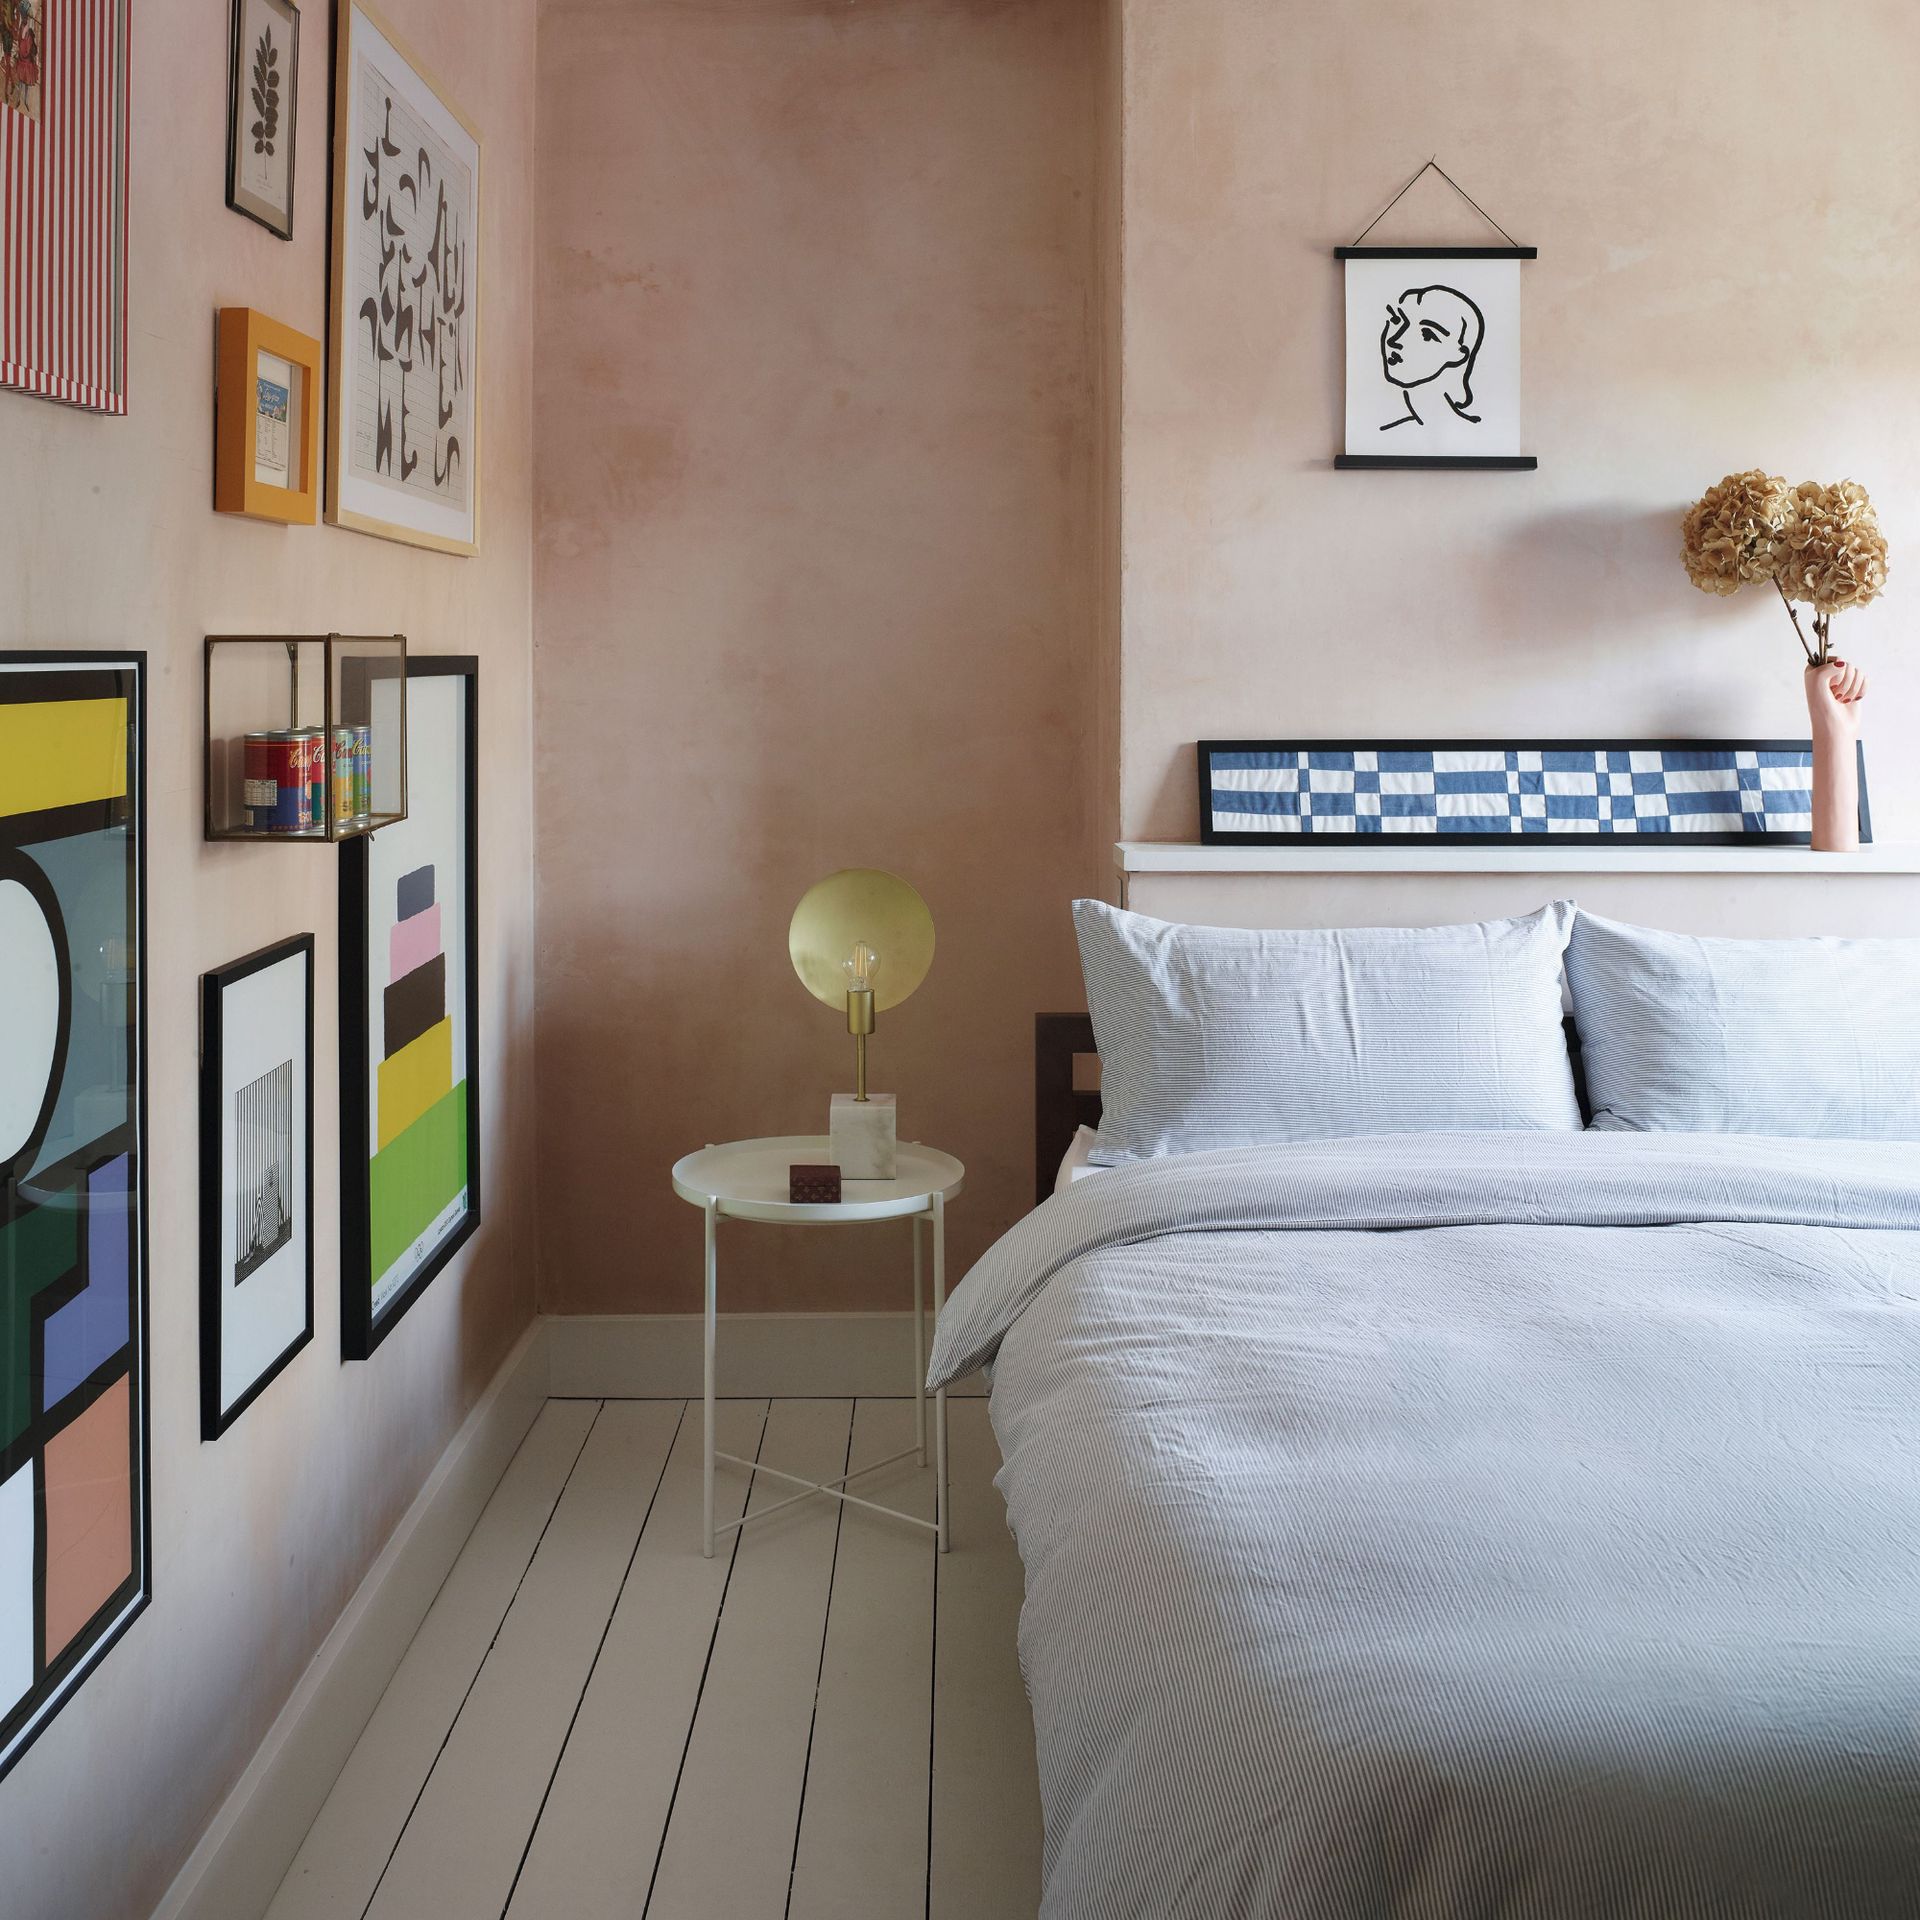
(Image credit: Future PLC/Mary Wadsworth)
‘Decorating your home with beautiful wall art can transform the atmosphere and ambience of your living space,’ starts Glen Peskett, DIY professional and owner of tool shop, Saxton Blades.
‘However, the task of hanging art pieces often comes with its own set of challenges, from achieving precise alignment to avoiding unsightly wall damage.’
Glen continues, ‘Using a fork to hang wall art might not be your initial thought, but this unconventional method is surprisingly effective.’
Here’s how it works:
- Choose a fork – pick a regular dinner fork that has four or more prongs, this fork will act as a hanger for your art.
- Prepare the wall – mark where you want to hang your art on the wall with a pencil, making sure it’s level and at the right height.
- Attach the fork – hammer a small nail or screw into the wall where you marked it, leaving about an inch sticking out. To enhance stability, angle the nails slightly.
- Hang the fork – slide the fork onto the nail or screw, using the handle to guide the wire on the back of the frame. The fork’s prongs will securely grip the wall, keeping your art in place.
- Hang your art – once the nails are in place, simply hang your art, and you’re done.
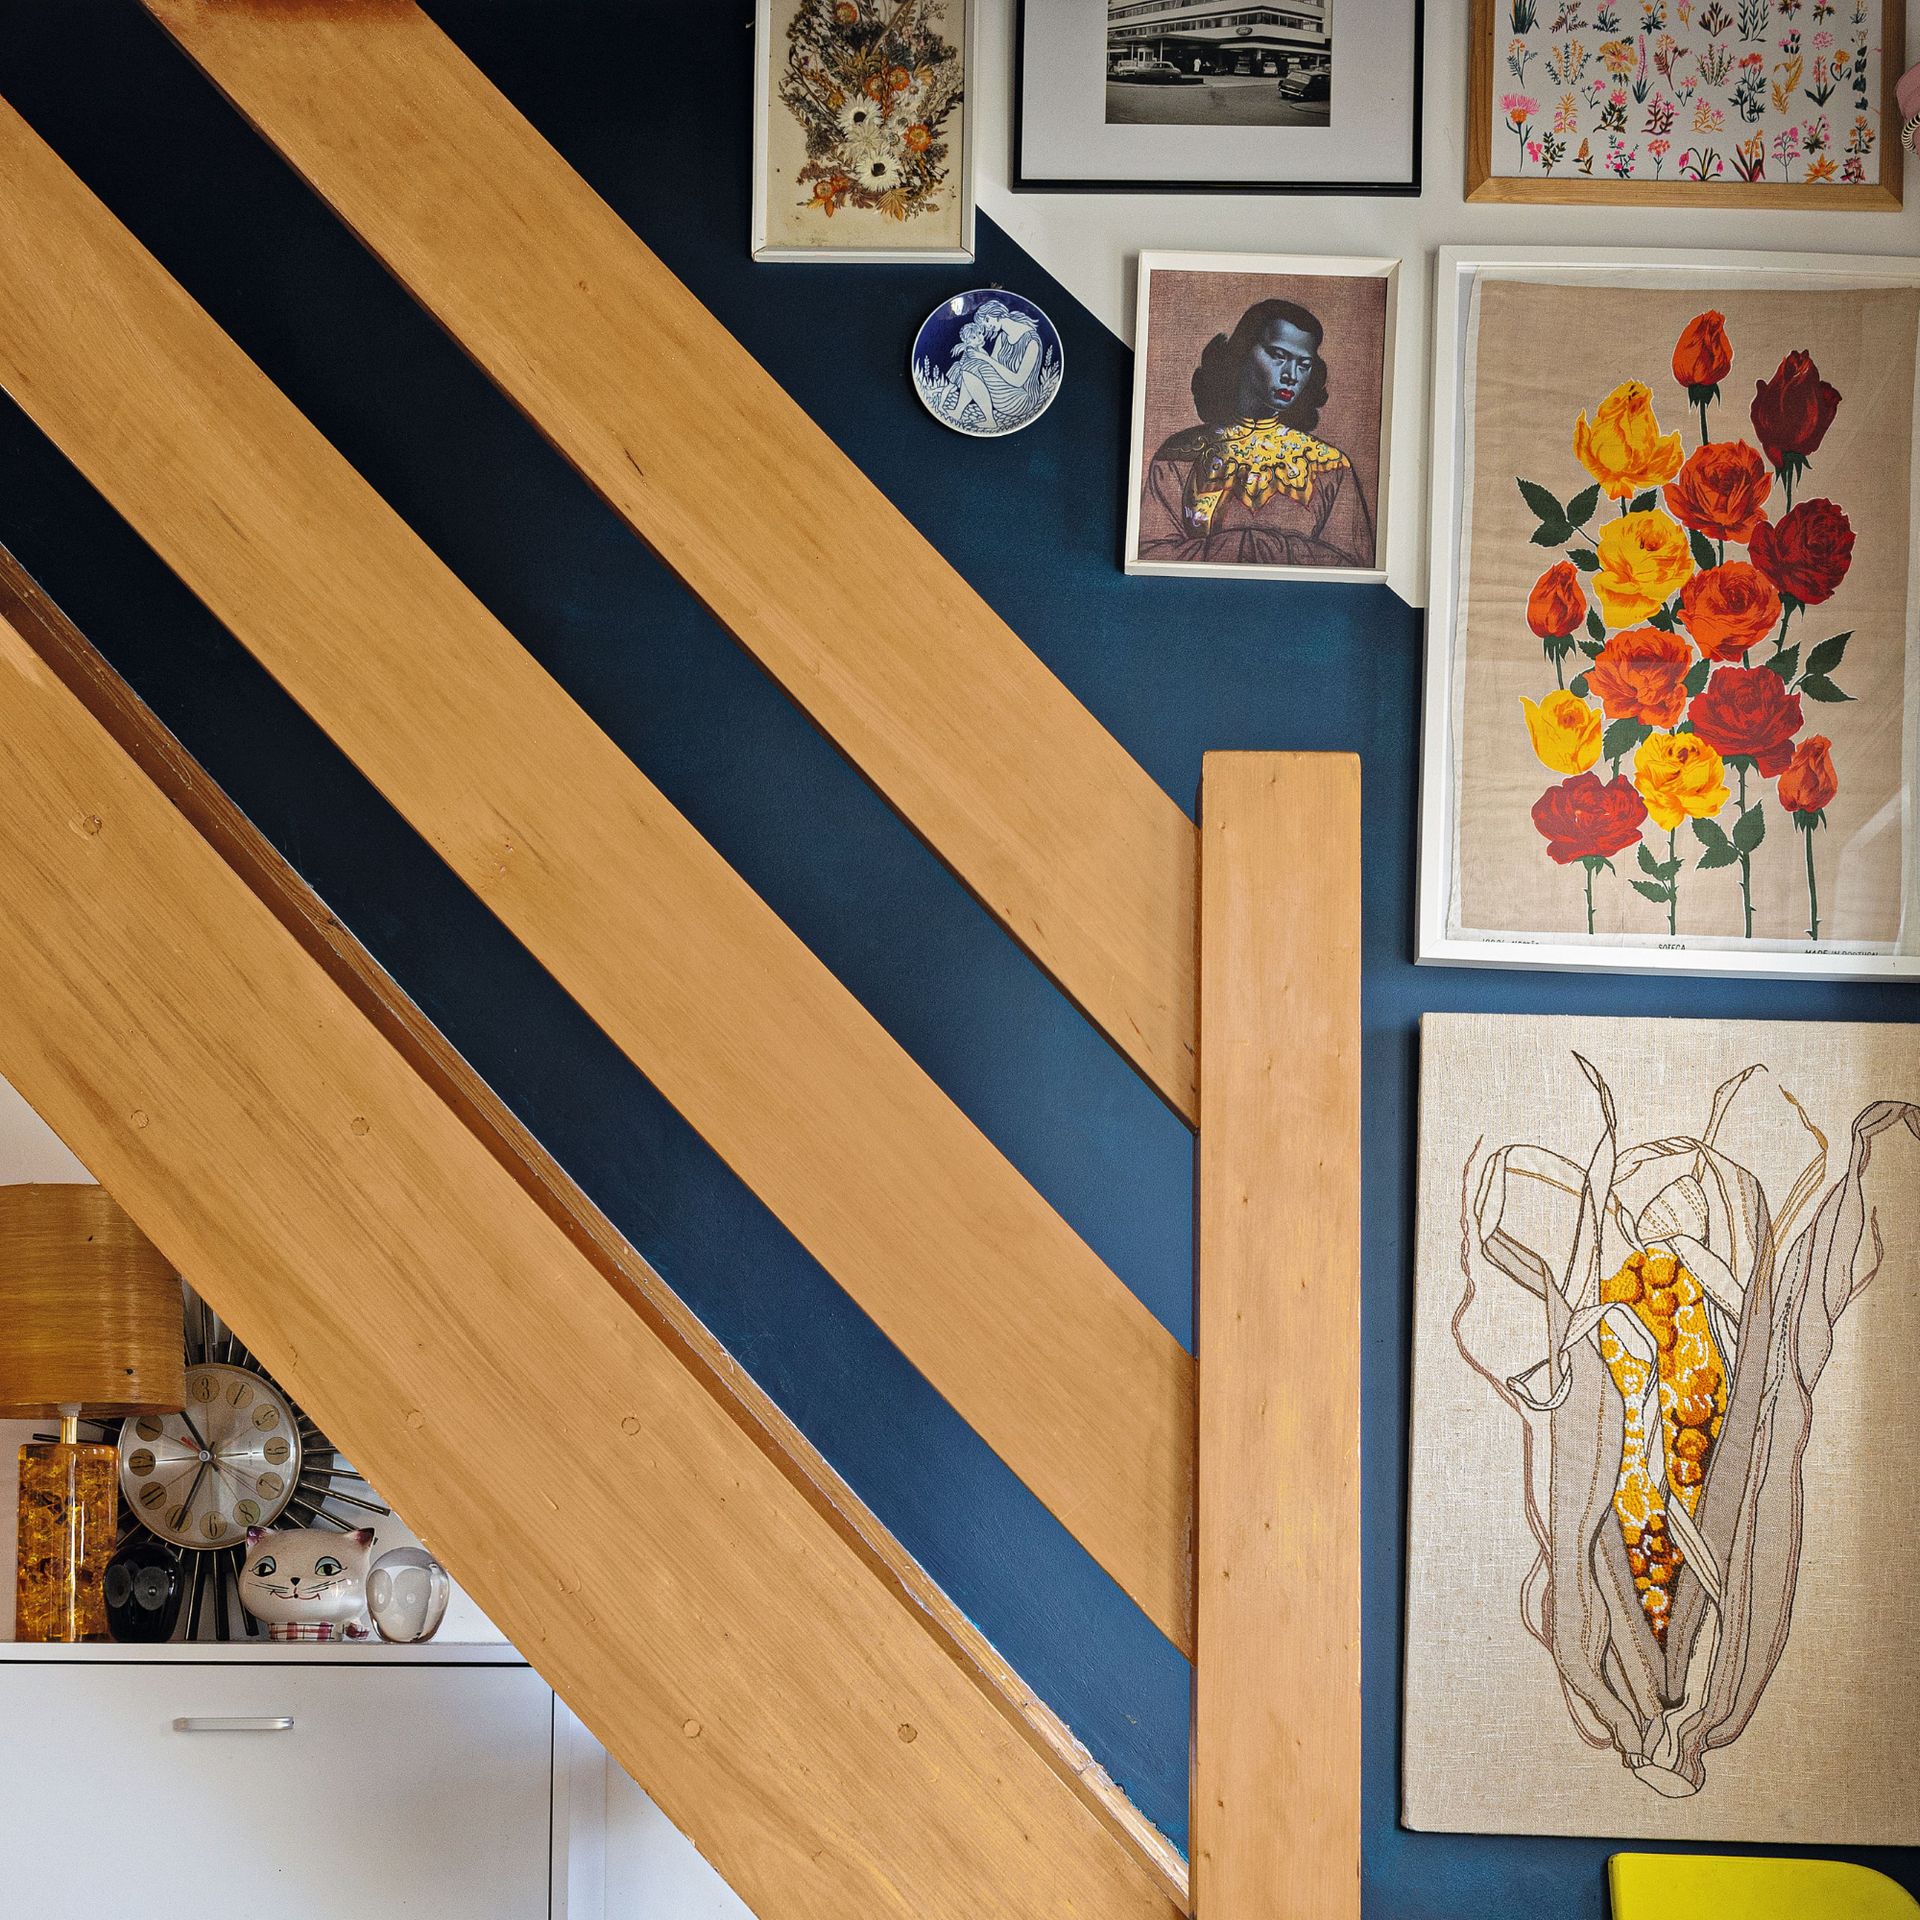
(Image credit: Future PLC/Bee Holmes)
This clever and easy DIY project usually works best for smaller to medium-sized art pieces, which are likely the sizes you’re likely to play around with anyway if a gallery wall is your end goal. Or, if you’re just planning to hang up a handful.
‘However, this method isn’t without its quirks,’ warns Glen. ‘Sometimes, it might require a few adjustments to get everything level, and it can leave minor scratches on your walls. For larger art pieces, it may be best to use stronger hanging hardware or get advice from a pro to make sure everything stays safe and secure.’
We don’t know about you, but we’ll definitely be adding this trick to our DIY arsenal.


