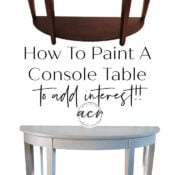
Learn how to paint a console table but not boring flat paint, add interest too!!
Hello beautiful friends!
Before we get started here, we have a winner of my latest giveaway! Go check your email and contact me! 🙂
Edited to say: Congrats to Diane S.!
I hope you had a wonderful fall weekend. It sure is feeling it! My daughter and I went on our very first mother/daughter trip this past weekend. Actually, Piper went with us too so it was a total girl’s trip!
We went to Charlottesville (VA) to the mountains and it was just beautiful. The leaves are starting to turn and there is nothing better than seeing that in the mountains! I just love it there. I love that we have the ocean/beach here at home and in just 2 hours’ time, we can be in the mountains!
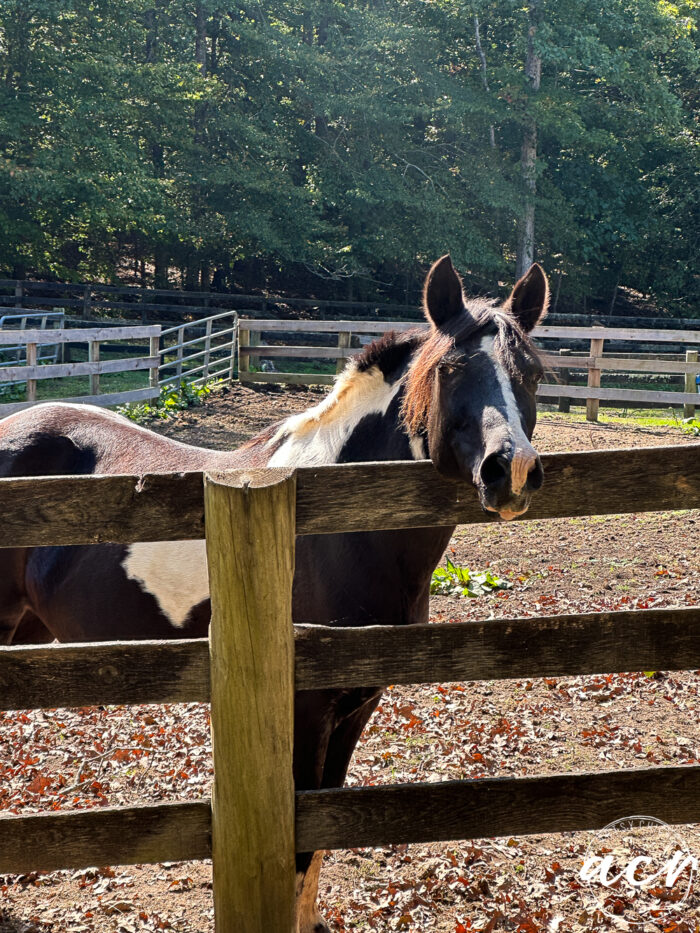
We stayed in Keswick on a horse farm. This is just one of the horses right behind our little cottage (attached to the stable). The rest are various places around the Charlottesville area.
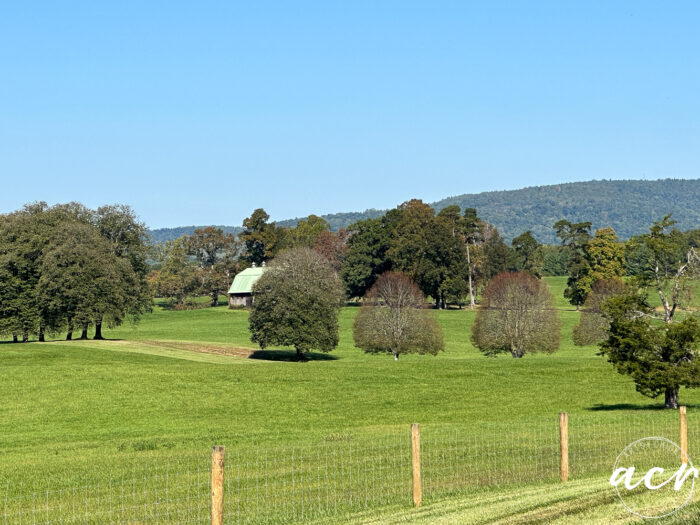
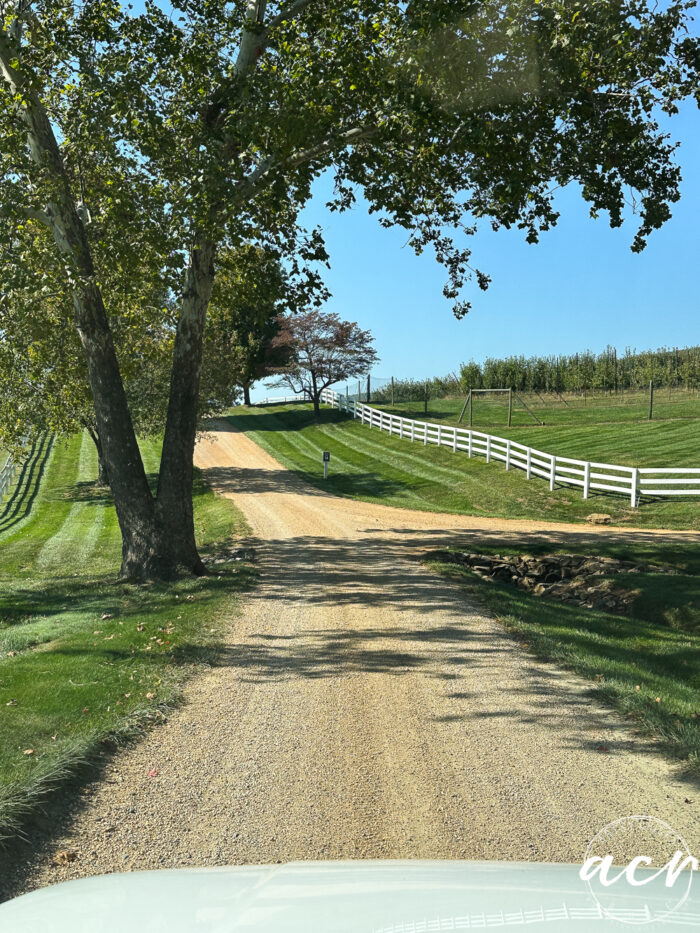
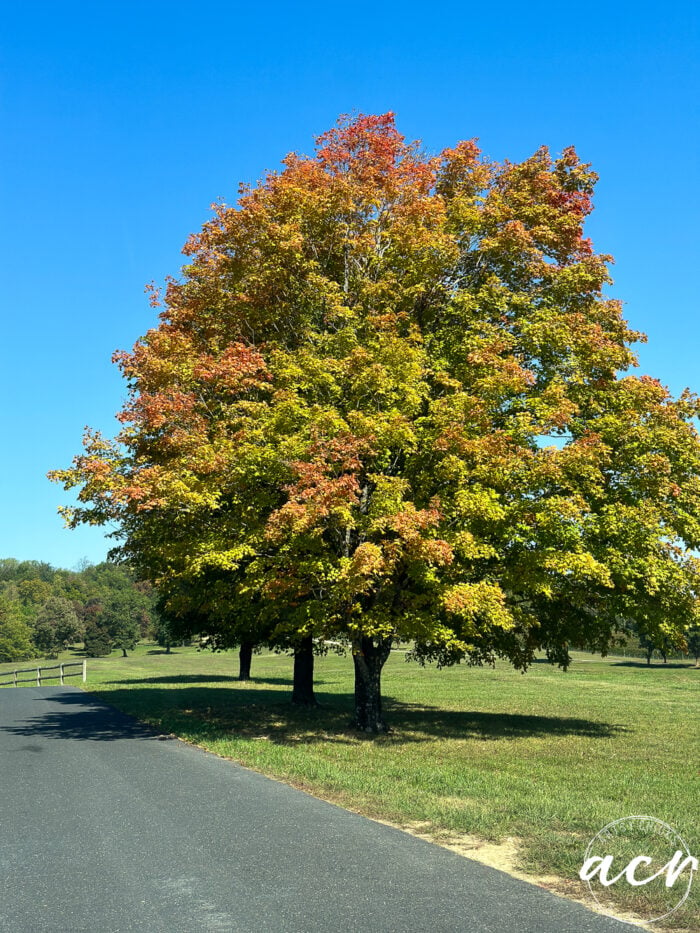
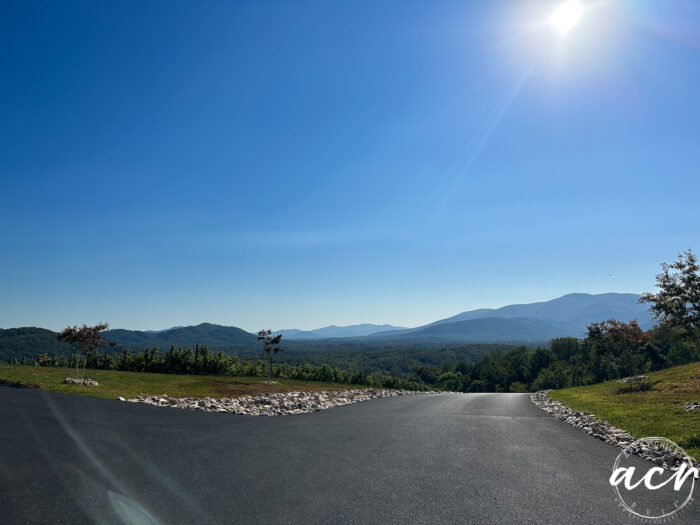
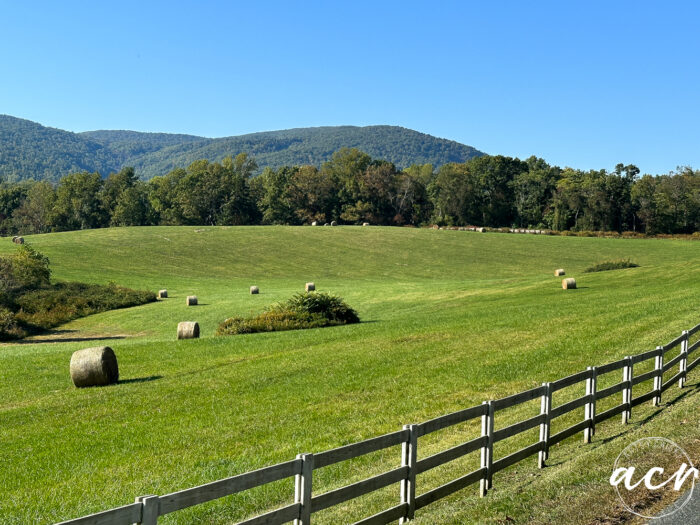
If you ever have the chance to visit, do! (if you haven’t already, of course!) Lots to do and see.
If you’ve been, let me know below!
Okay, let’s get to this project today!
How To Paint A Console Table And Add Interest
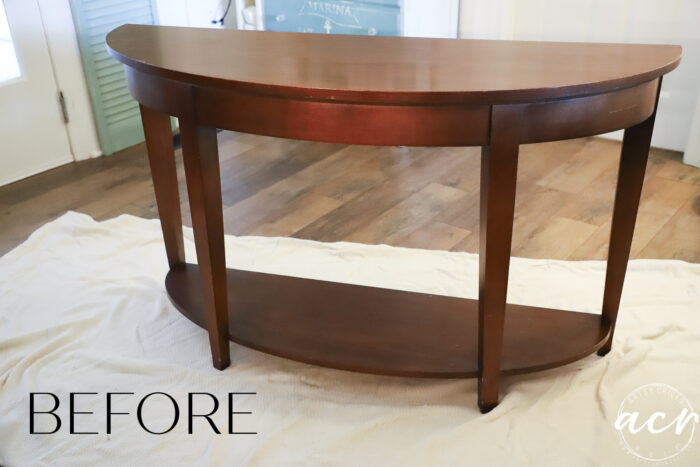
I found this little console table a while back. I think the ReStore? I’ve had it for a few months so my memory fails me!
Anyway, I thought I’d do a little something-something with it.
Looks pretty good from far away but it was a bit beat up all over.
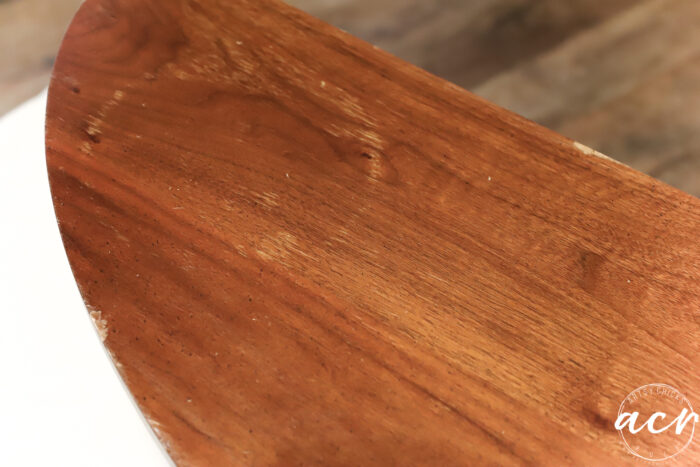
So I decided to paint it.
And when my daughter saw it, she asked if she could have it. Of course! So I painted it in a color that would go with her decor.
I just love this light, soft, ever so pale green. I’m not a huge green fan but this one is SO beautiful.
There are lots of ways to makeover and paint a console table. I thought I’d share something a little more involved than just adding a coat of paint and done. Let’s give it some pizazz! 😉
SAND
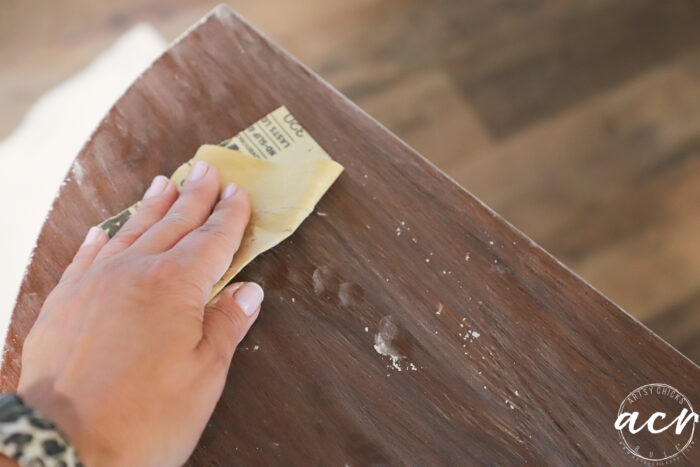
I started by lightly sanding all over.
CLEAN
Then cleaned it all up with TSP Alternative cleaner.
PAINT
Then I pulled out my paint and got to painting!
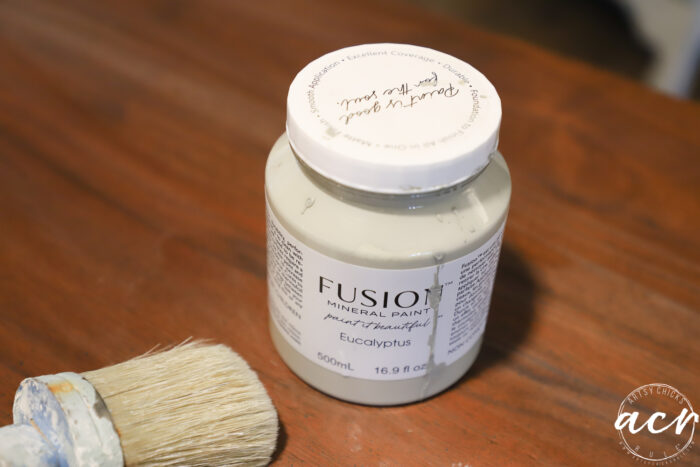
I did two coats and it covered great.
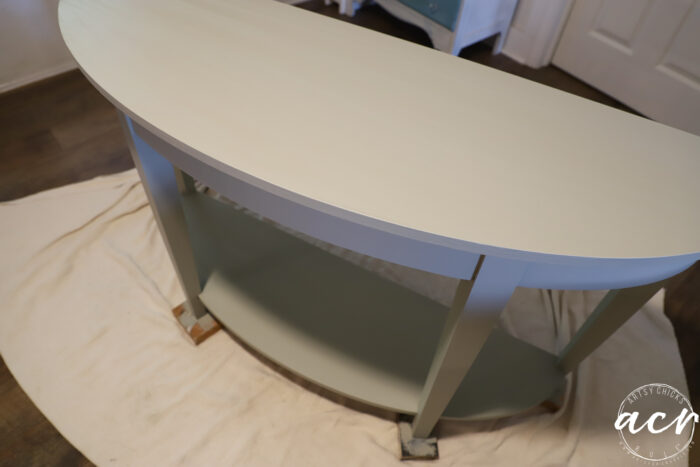
I let it dry overnight and came back the next day to add dimension. (and that “interest” I mentioned in the title of this post)
I mean because really, it’s sort of flat looking, am I right?
And that’s totally okay if that is the look you are after. Just a nice, clean, crisp paint job. However, I wanted to add a little bit more.
I wanted to add a little interest to this basic console table.
Add Interest (and dimension)
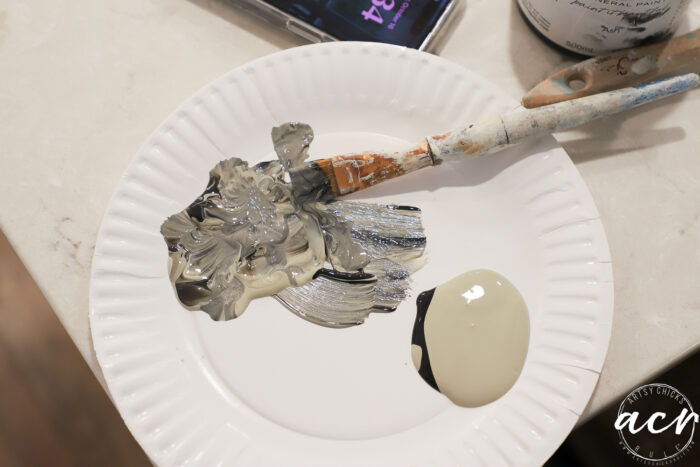
So I pulled out my Ash paint and mixed a little with the Eucalyptus. No measurements here, I simply made several “piles” of paint, some darker, some lighter.
I started with the darker one on the bottom shelf and went around all the edges with it.
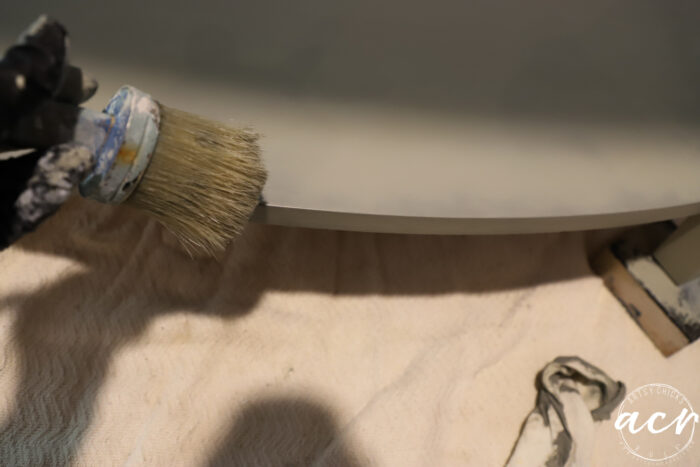
Then I moved to the lighter color and added to it, blending as I went.
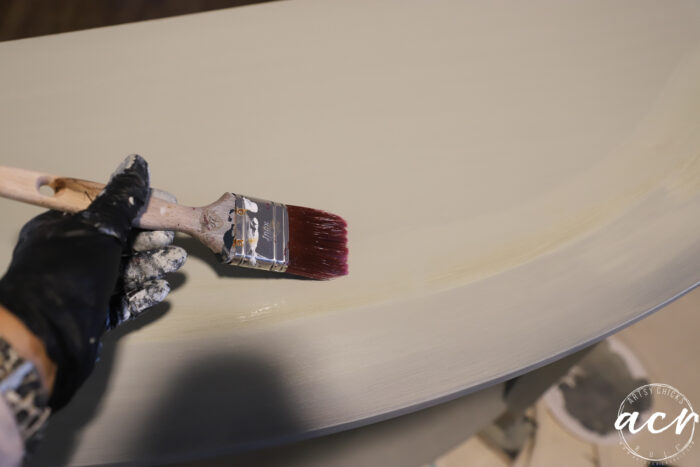
Then went to just Eucalyptus by itself and blended even more.
Here is the top shelf. See how I went around with the darker shade?
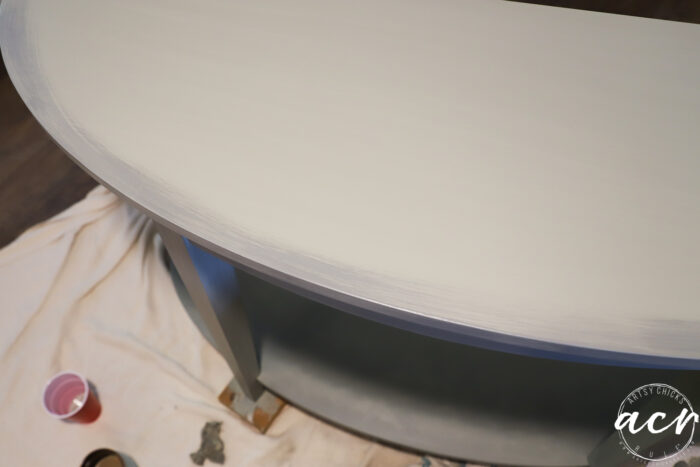
Then blending with the lighter shades.
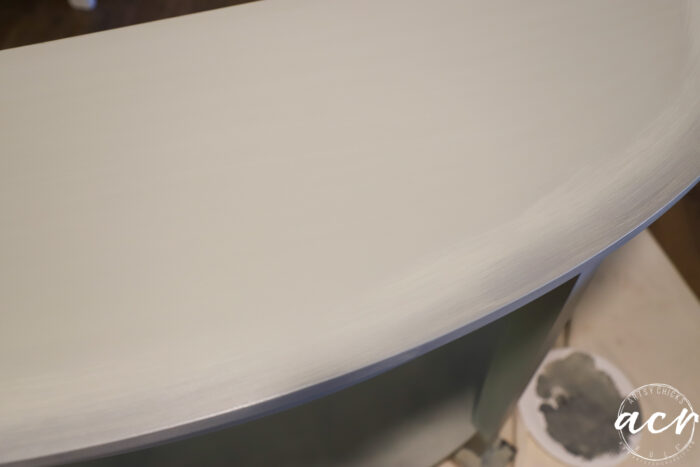
And so on until I am satisfied with how it is looking.
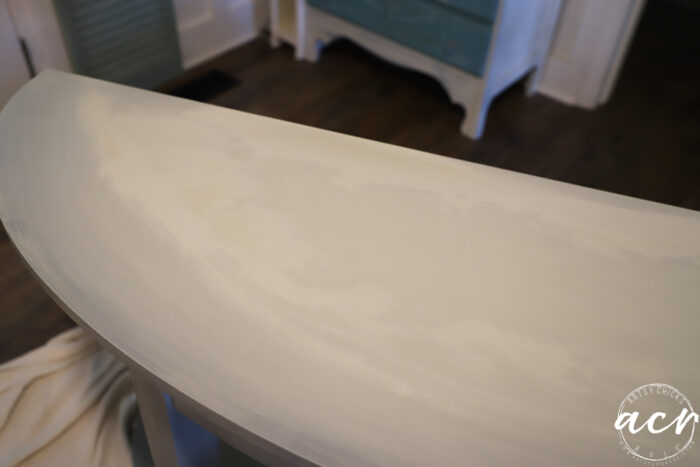
Part of that is still wet so looks blotchy, and uneven.
Something to note… when paint is wet it will look lighter. (and sometimes much lighter) So as I was doing this, it really looked as if I were putting lighter paint over the first finish (Eucalyptus by itself). But when it dried, it was so obviously darker.
So if you try this technique, keep that in mind as you are doing it. It will look lighter but just know that it’s not. And brush/apply accordingly.
You may have to go back with the plain Eucalyptus in areas where you maybe put too much dark. Ask me how I know. lol Let it all dry, then go back and touch up where needed.
SEAL
I used our Tough Coat Topcoat for the finish.
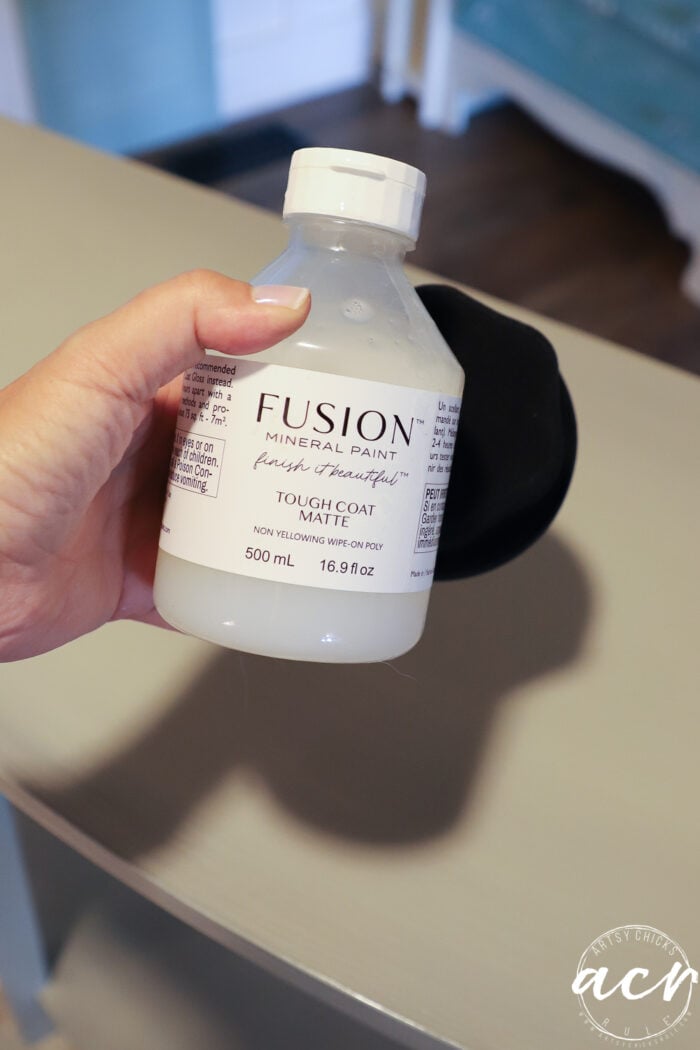
And I used our applicator sponge to apply it for zero brush strokes. It makes this job so much easier!
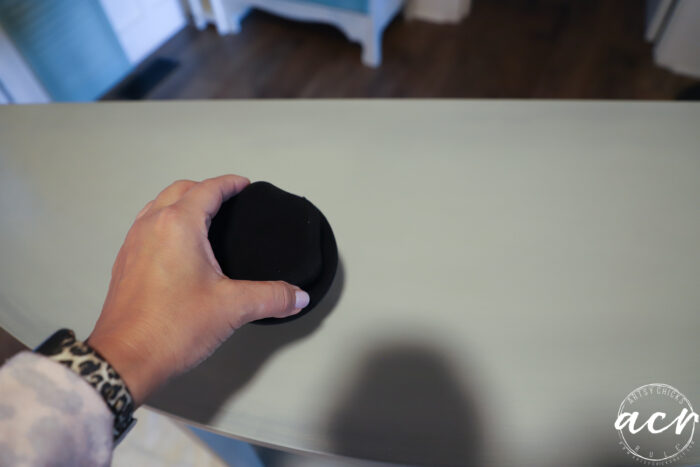
And done!
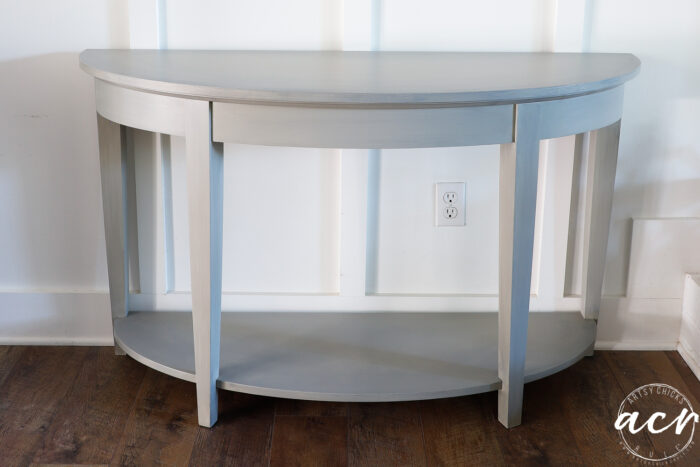
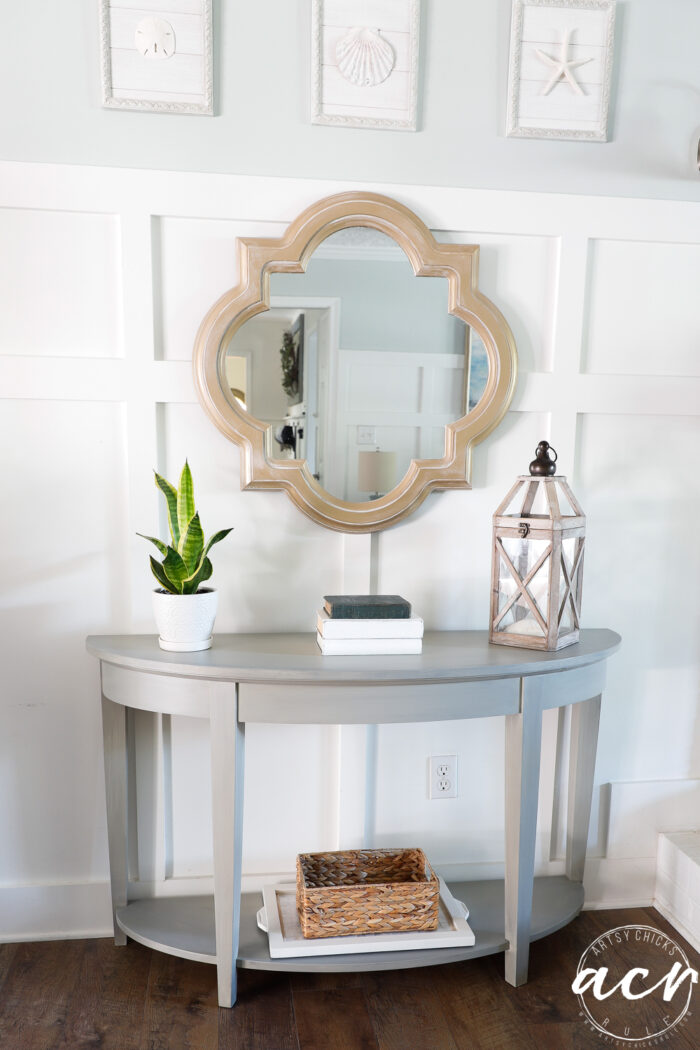
Okay, so it was hard to photograph and get the “dimension” to show well in the photos. But I tried to capture it below.
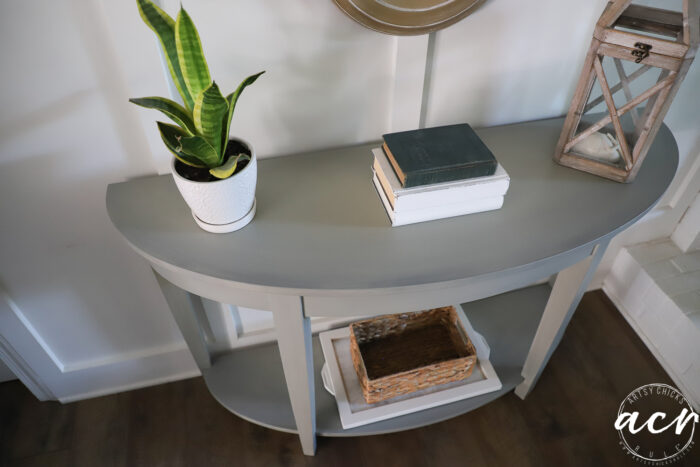
See it??
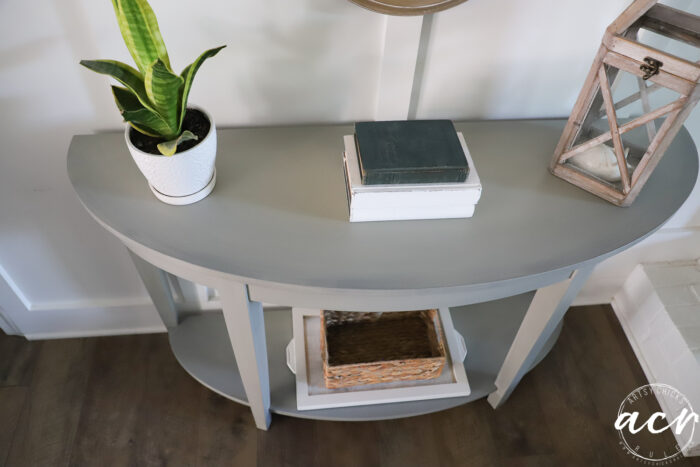
Nothing flat and boring here! Nice depth and interest in this table.
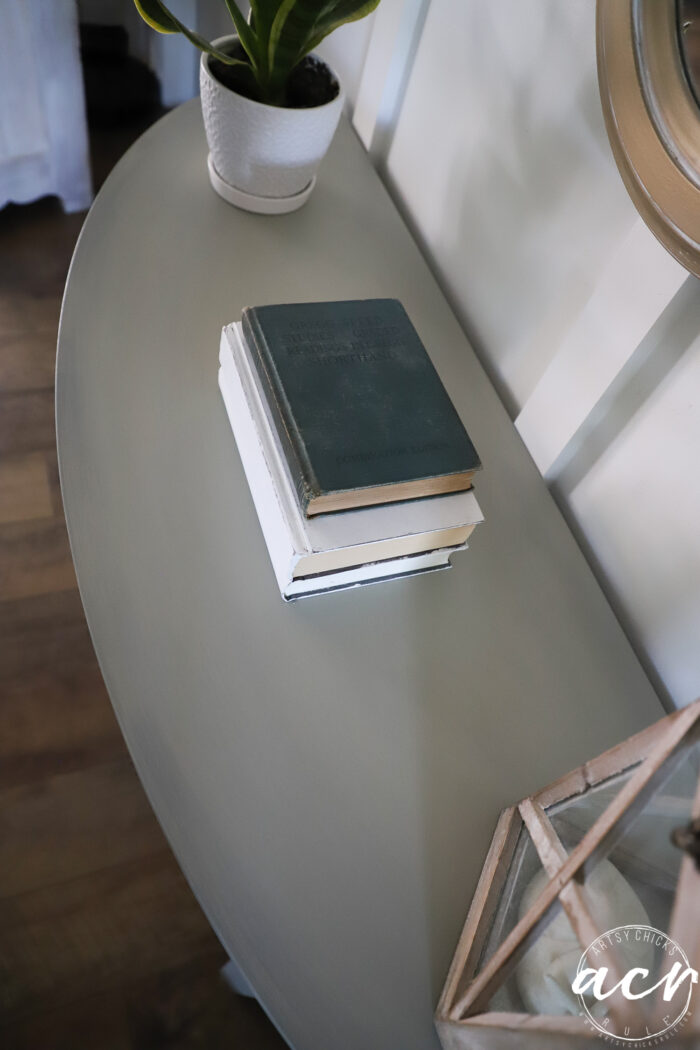
Love it!
Here are a few “pretty” pictures.
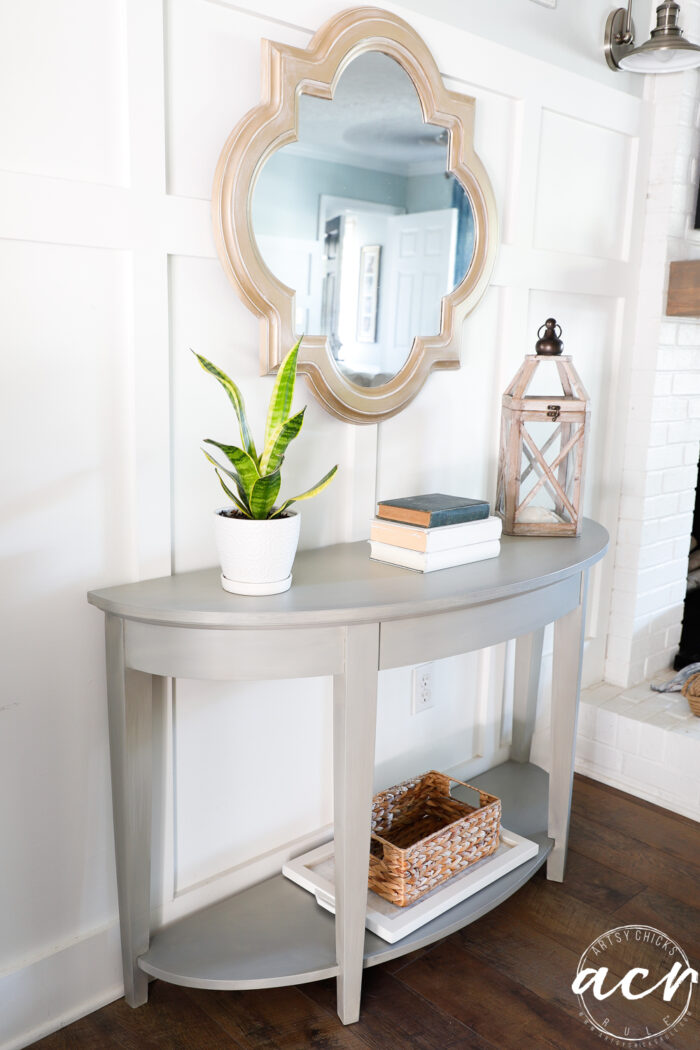
For the legs, I simply did a sort of dry brush on those to add some color.
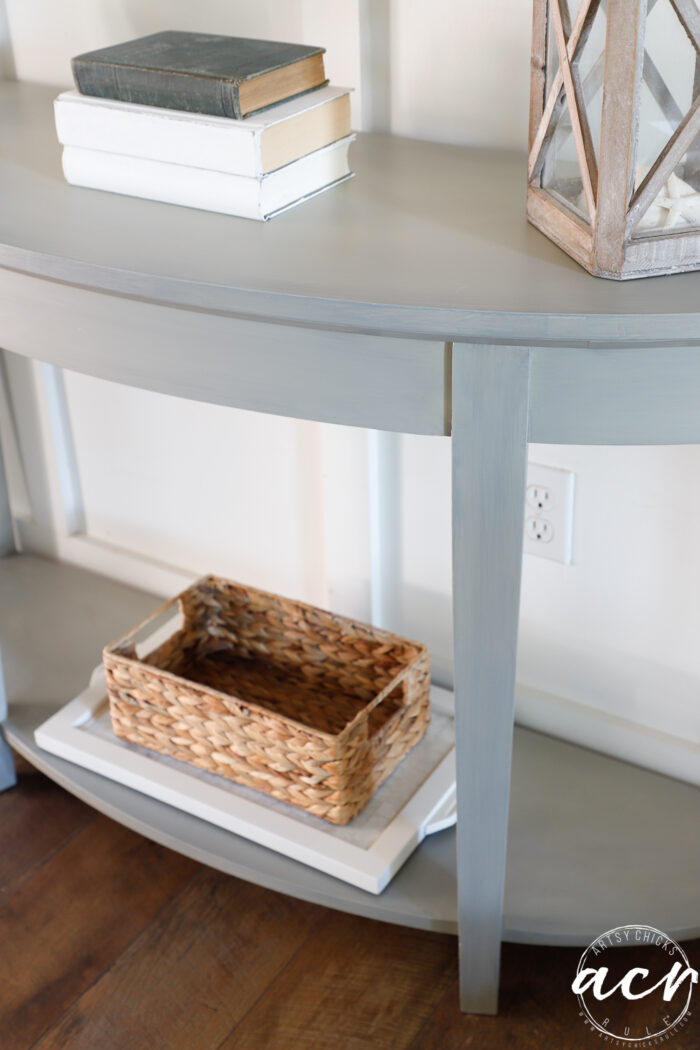
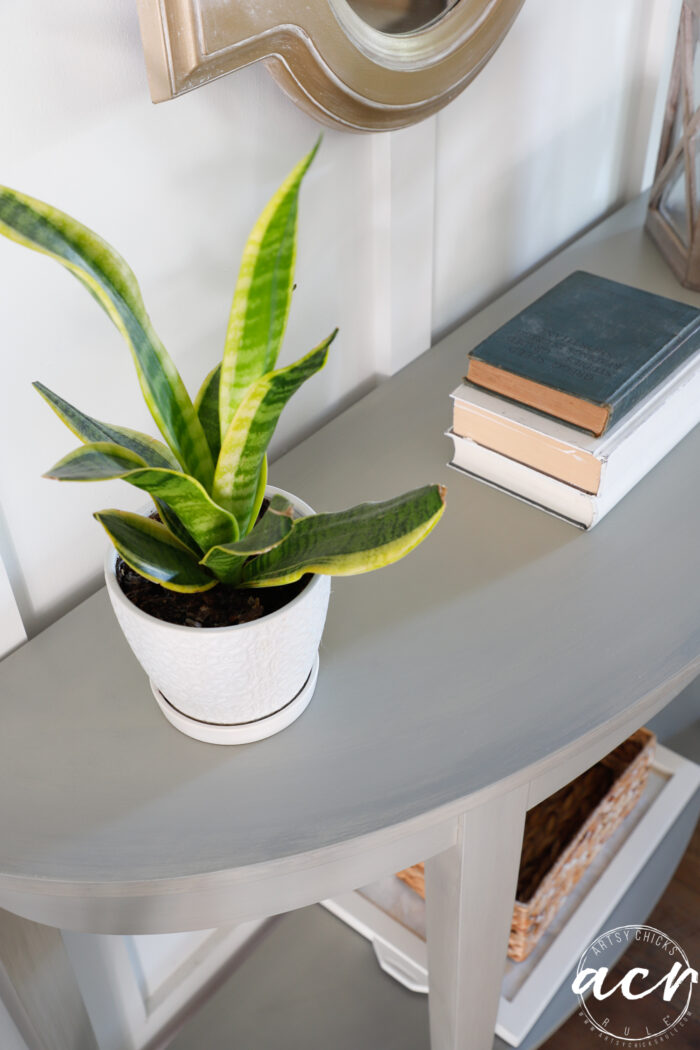
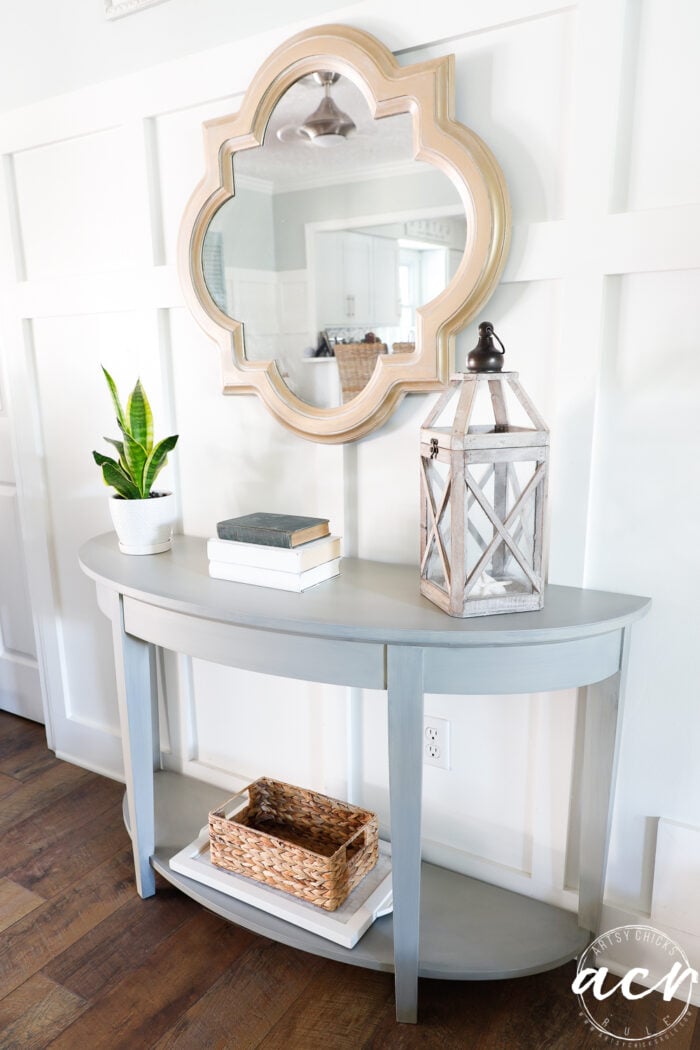
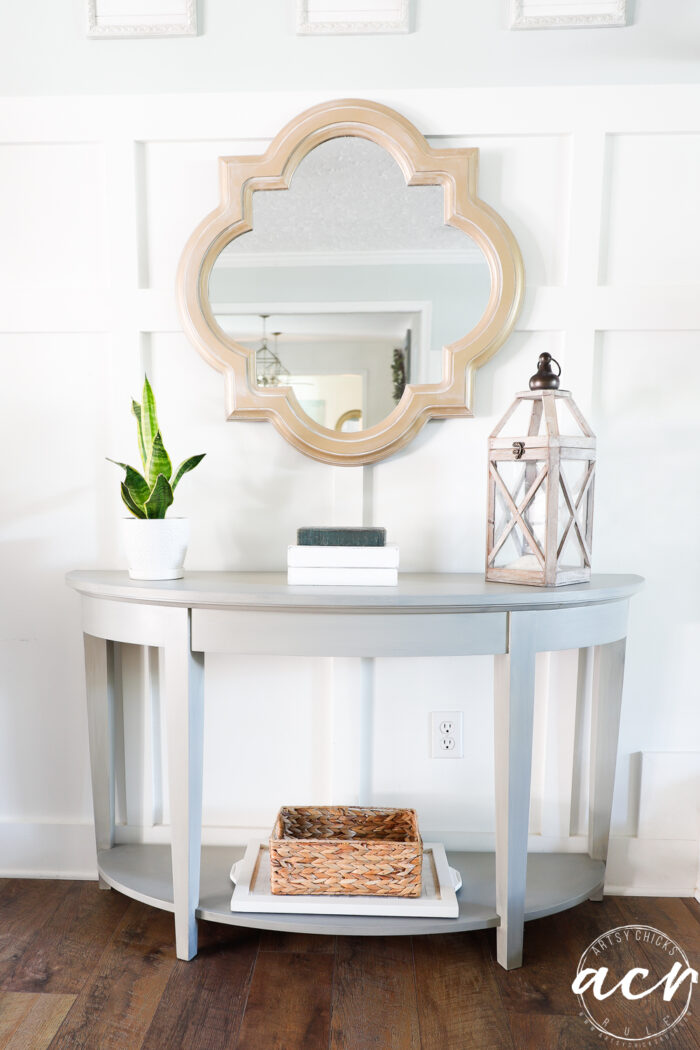
It’s all about adding that little bit “extra” to make it special sometimes.
I can’t wait to get it in our daughter’s house! Hope she’ll love it. 🙂
Think you’ll give it a try??
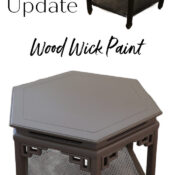
Want to see another project I did a similar paint technique to?
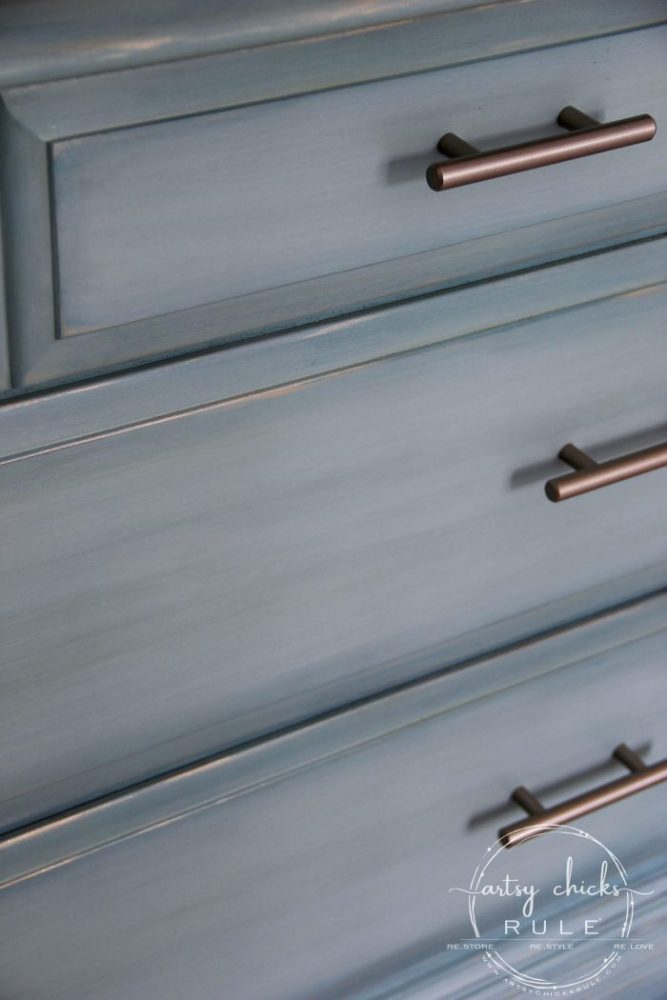
Hop on over >>> here to see it!
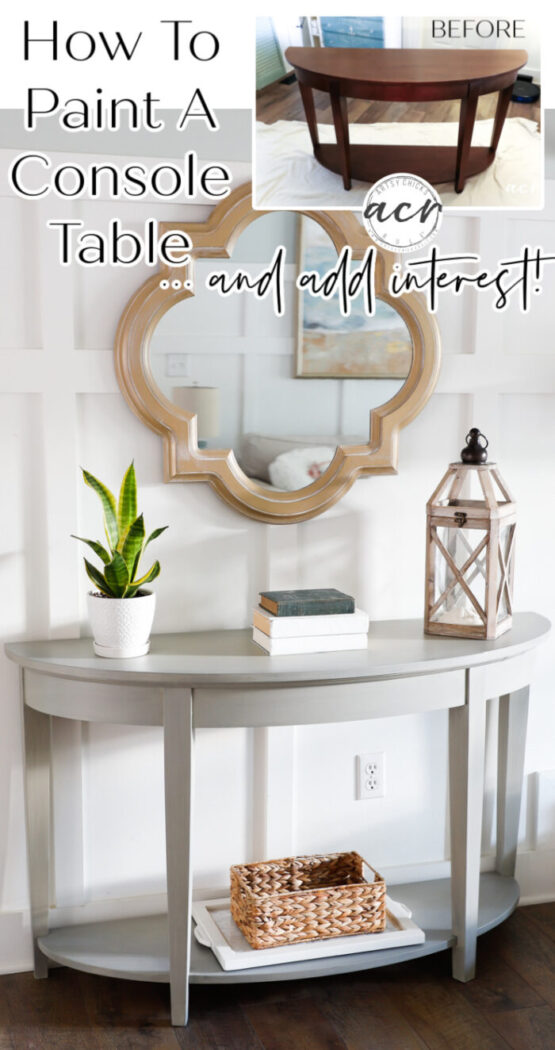
PIN it to save it!
Have a blessed week, friends!
xoxo


