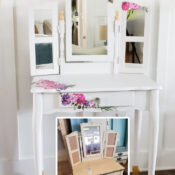
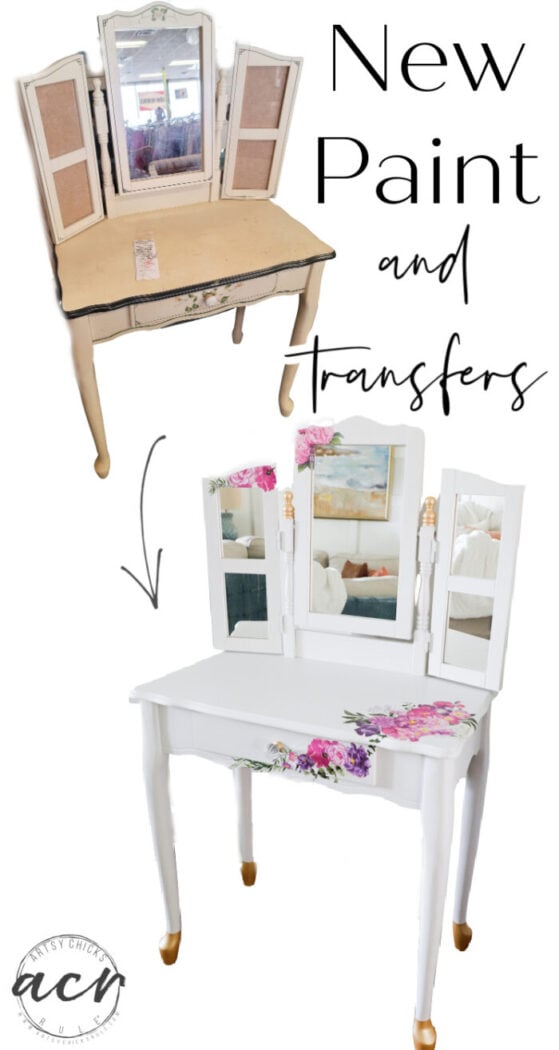
The French Provincial dressing table makeover is a breath of fresh air! Dingy $30 find cleaned up and made beautiful!
Hello wonderful friends! Today is Trash to Treasure Transformation Tuesday! Yippee! My friends and I are getting together to make over new finds. I am making over an old find today. Well, I found it in the Outer Banks a year ago now (almost exactly!) and I’m finally getting around to making this one over.
It’s about time!! haha!
I worked on it this past weekend and got it done. My husband and I also started planning a few small updates (on the outside of our home). That will be fun! It’s things we considered doing over the years but never did. And hopefully, the weather will cool off a bit so we can get to it. It’s been SO hot here still. Not really complaining because I’ll take hot over cold any day of the week! But dang it’s hot. lol
Oh yes, don’t forget to scroll down to the bottom to see what my friends did with their makeovers this month too!
French Provincial Dressing Table Makeover
She’s a cutie but was a little dingy and dated looking when we found her.
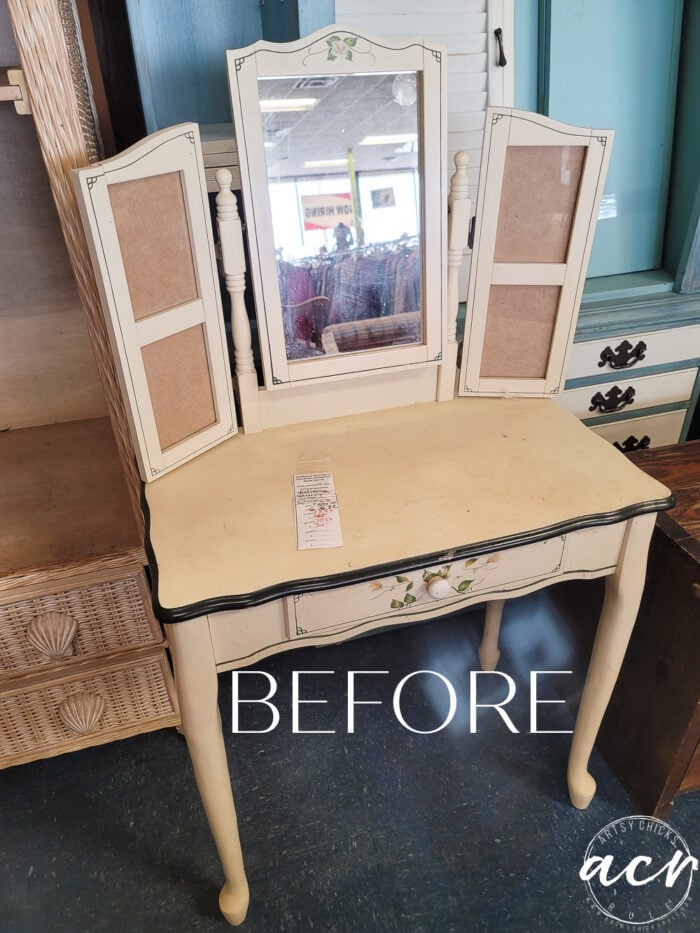
In good shape though. $30
I took the mirror and sides off then lightly sanded all over.
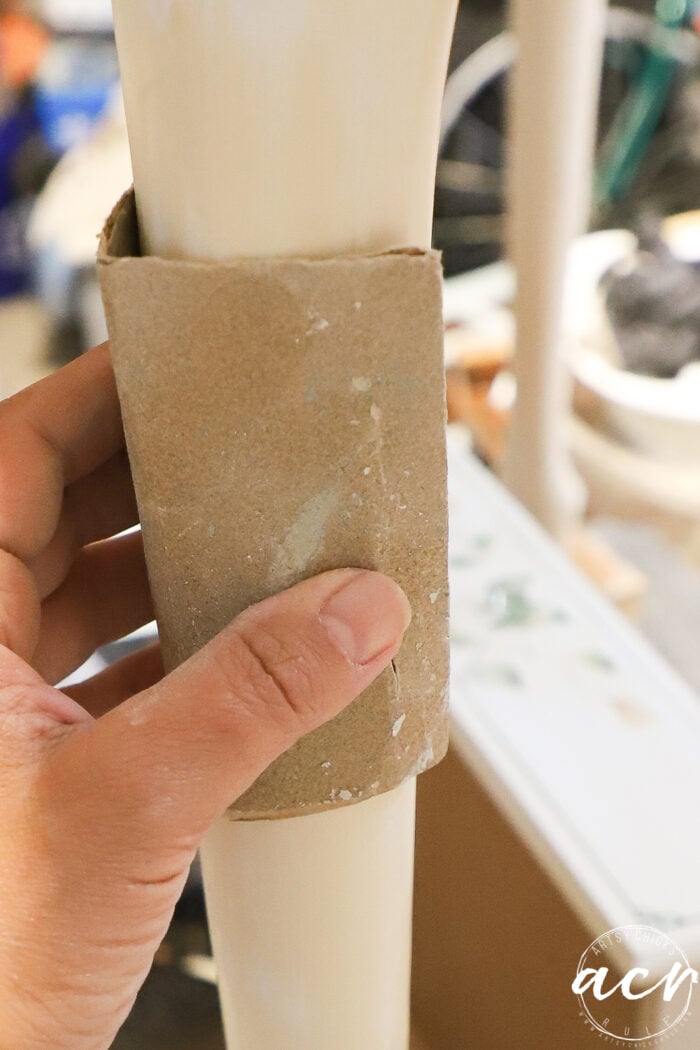
Once it was all wiped down with our TSP Alternative, I began to paint.
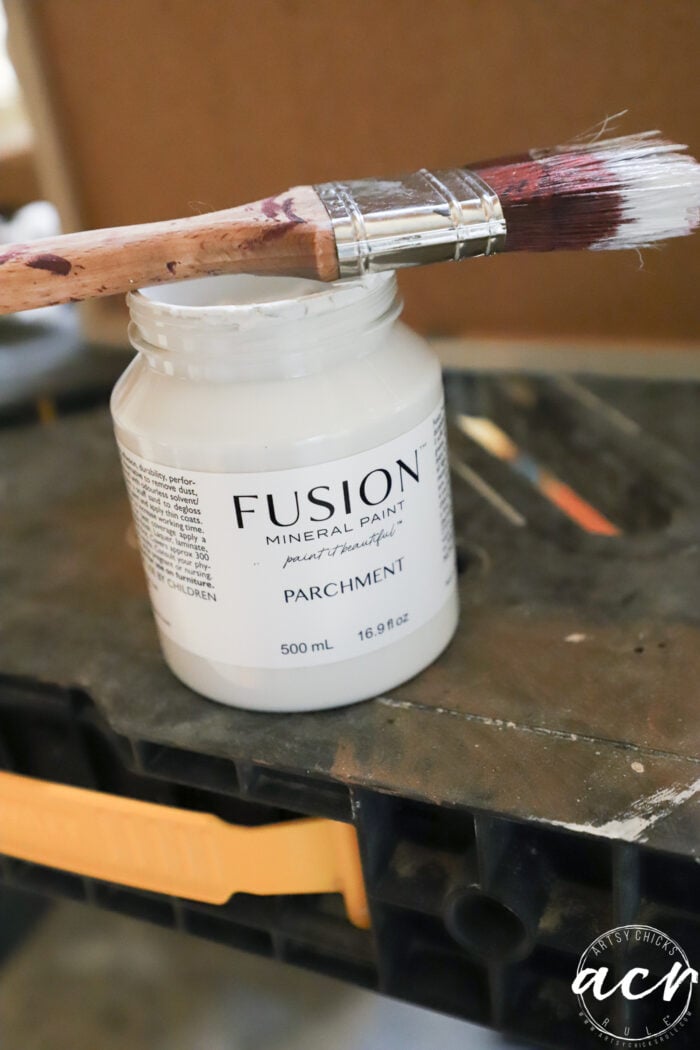
I used one of our new colors, Parchment. It’s a lovely off-white! Very clean color, I just love it.
You can see how yellow the original color was here…
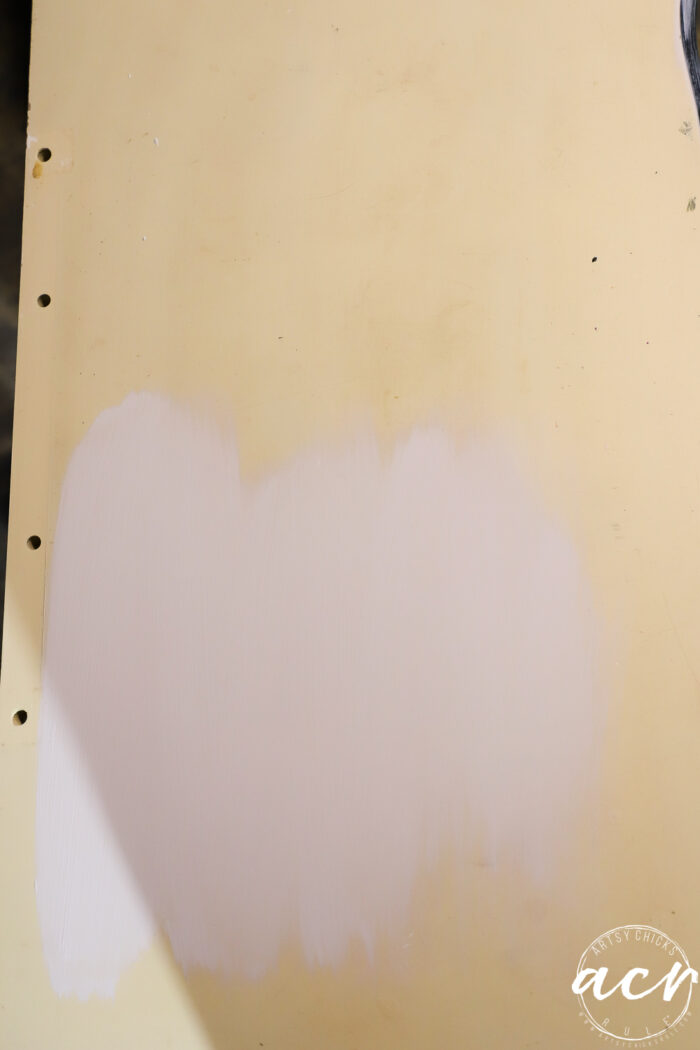
And how crisp the Parchment color is.
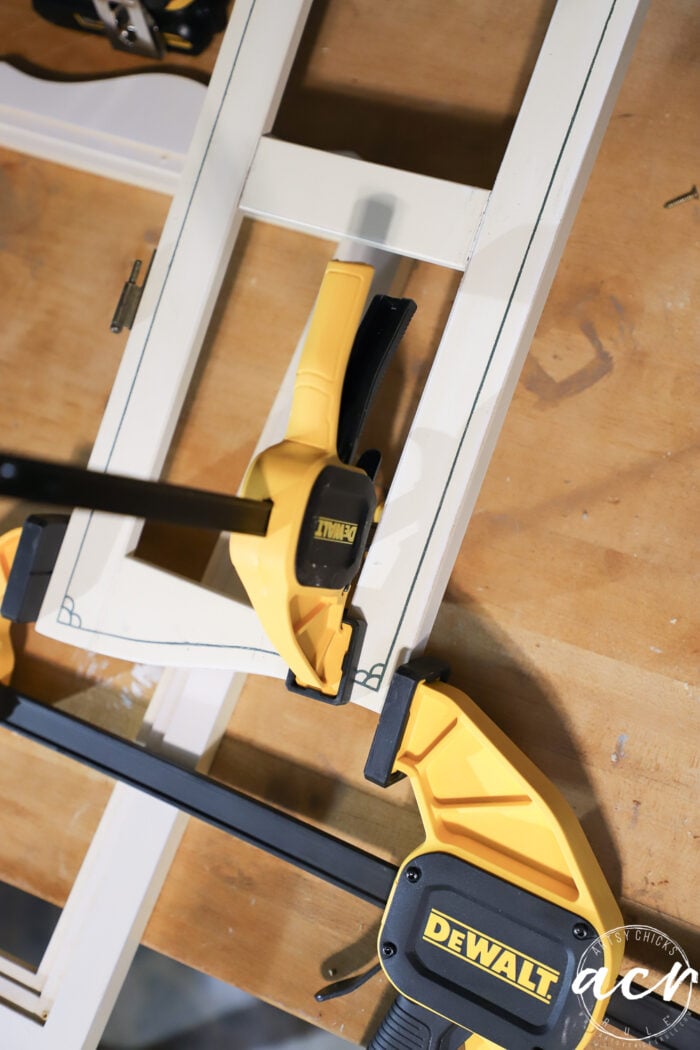
One of the sides of the top piece needed a repair (it came apart as I was sanding it) so I took care of that before painting it.
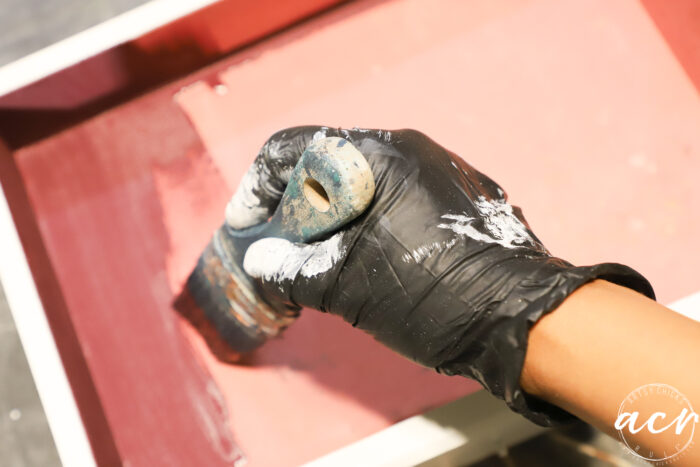
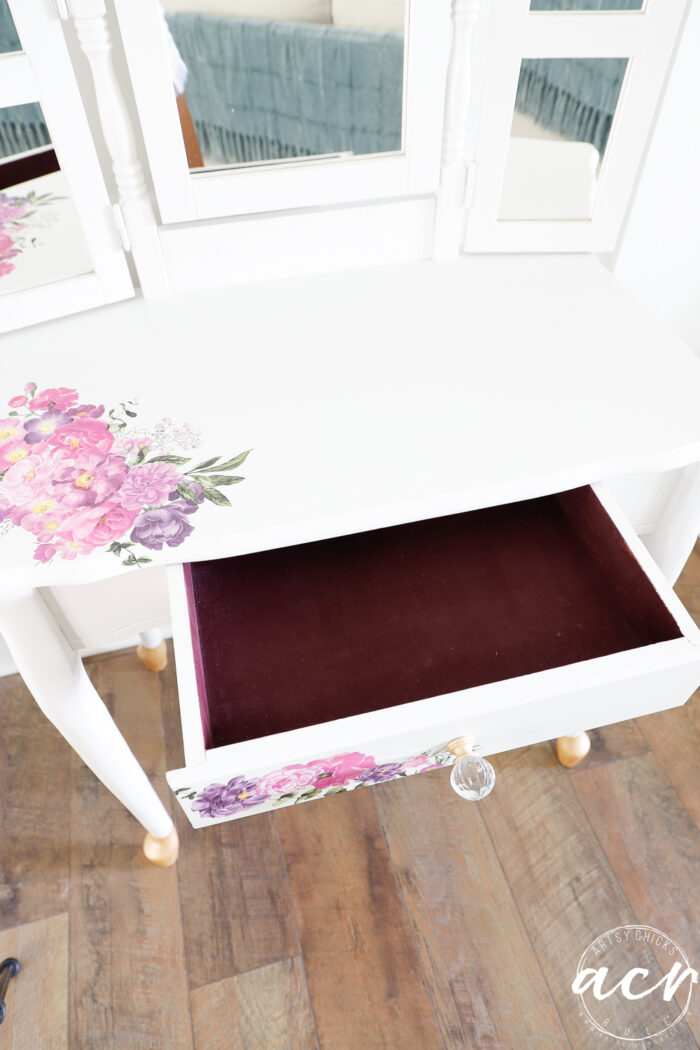
For the inside of the drawer, it was lined in pink felt and attached well. So I just decided to paint it instead of remove it.
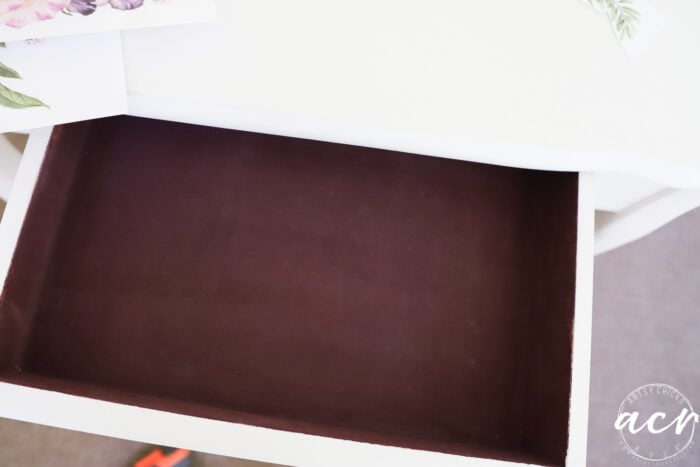
I think that worked out well. Looks great! (I used Elderberry-linked above in the “Materials Supply List”)
Once that was all dry, I started playing around with the decor transfer.
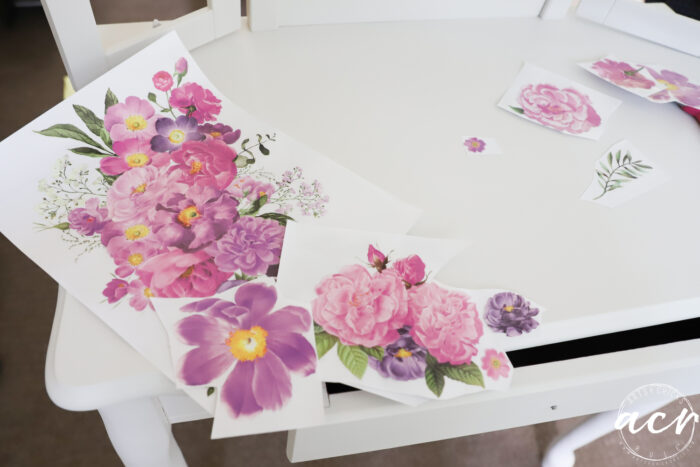
And putting smaller pieces together for the look I was going for.
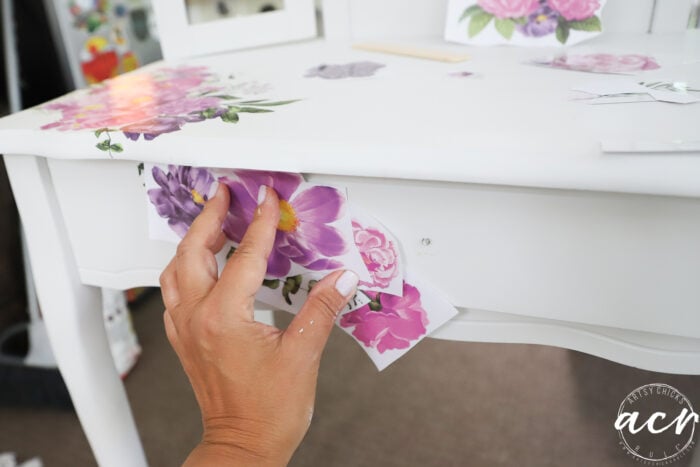
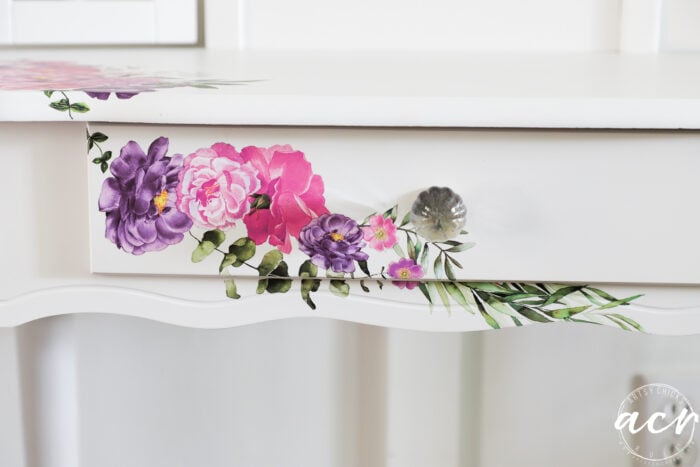
Which, by the way, was a sort of flowing look from one side to another. (as you can see below)
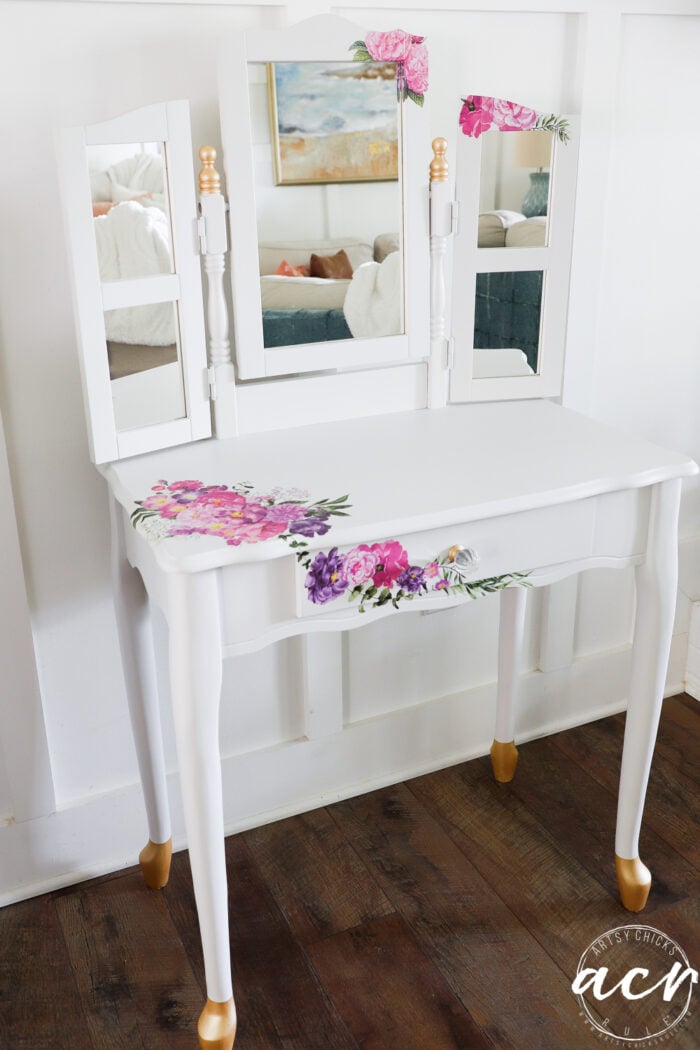
I actually decided to mimic that look on the top right of the mirrored section too.
I usually wrap the transfer up under the drawers/sides, etc., but I decided to cut this one and put it on the bottom so it would be more visible. (see the little leaves on the left and right where I’ve already attached those?)
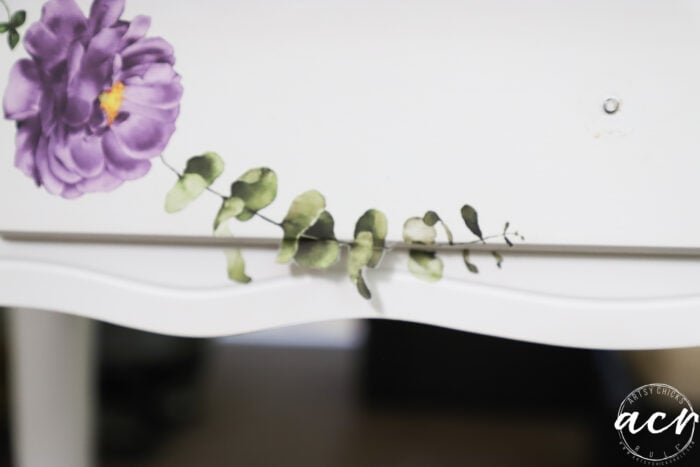
And now all of them.
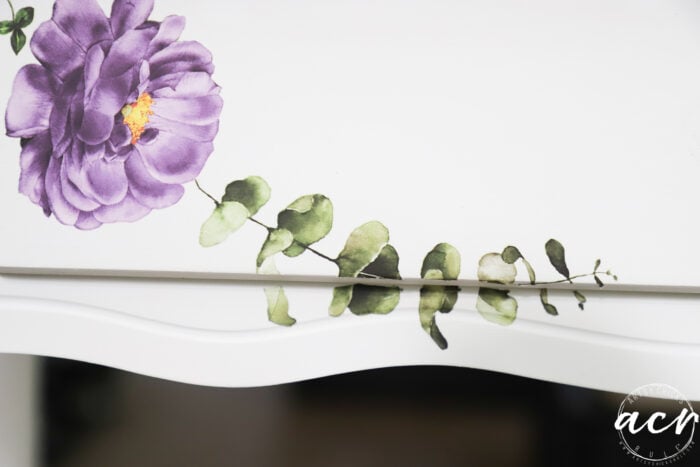
So looking at the little table from straight on you will be able to see the whole design.
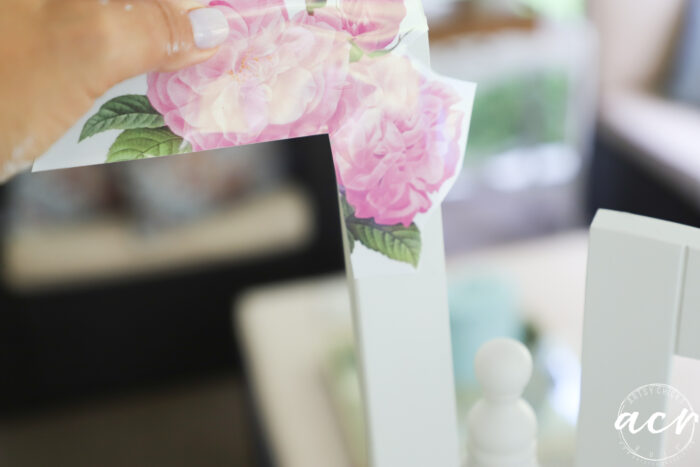
For this top corner, I ended up cutting the transfer like so…
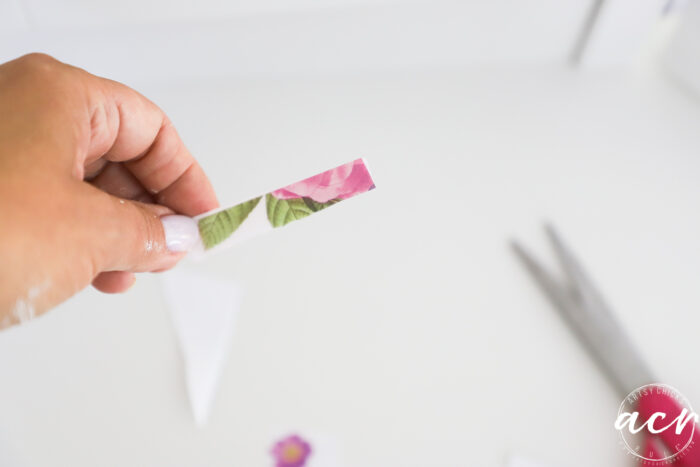
And then came back and cut the small pieces for the inside of the frame.
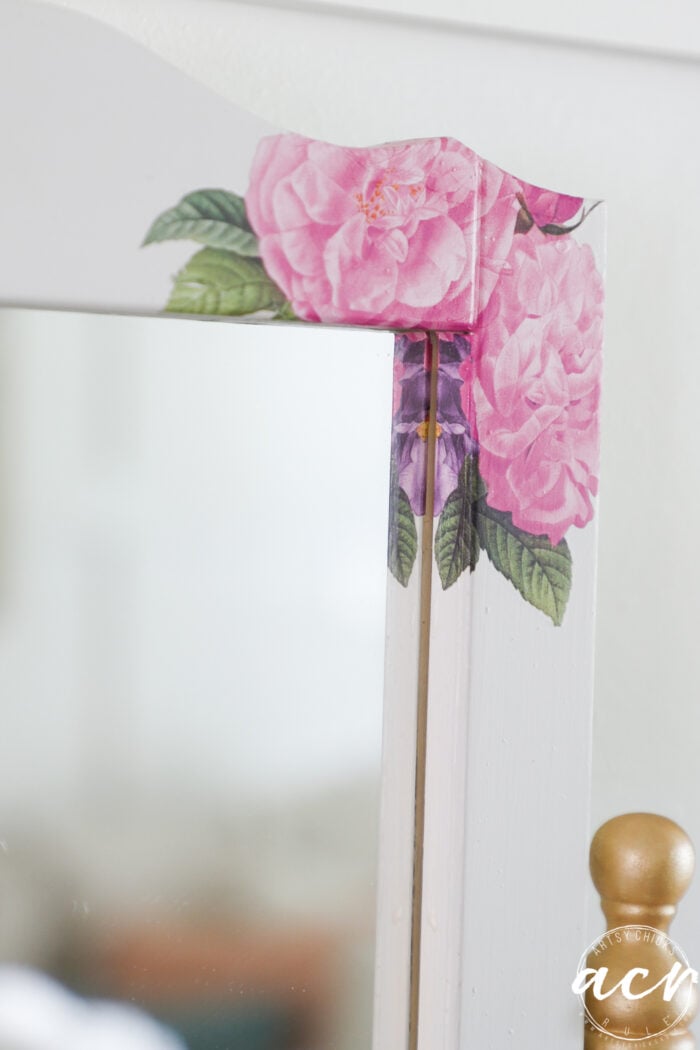
And wrapped the flowers all the way around.
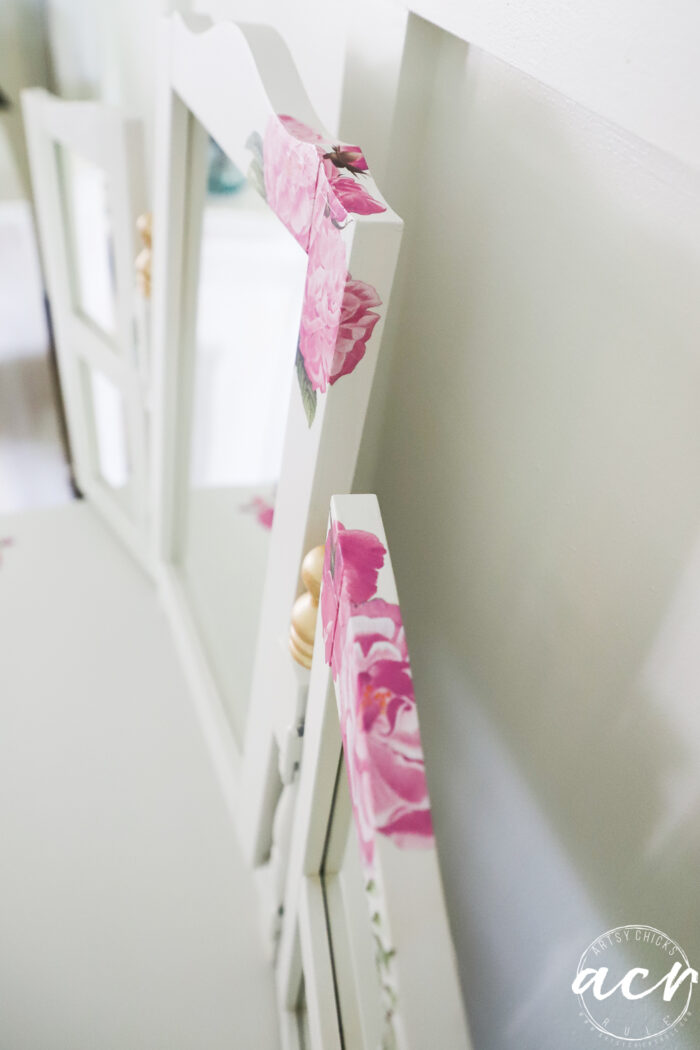
I stood back and looked at it and thought it needed just a little more pizazz. So I decided to paint on gold “feet”.
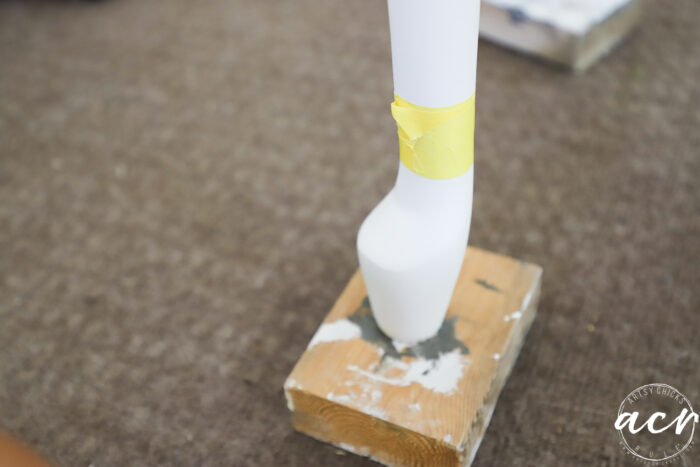
I used Frogtape Delicate Surface since the legs were newly painted.
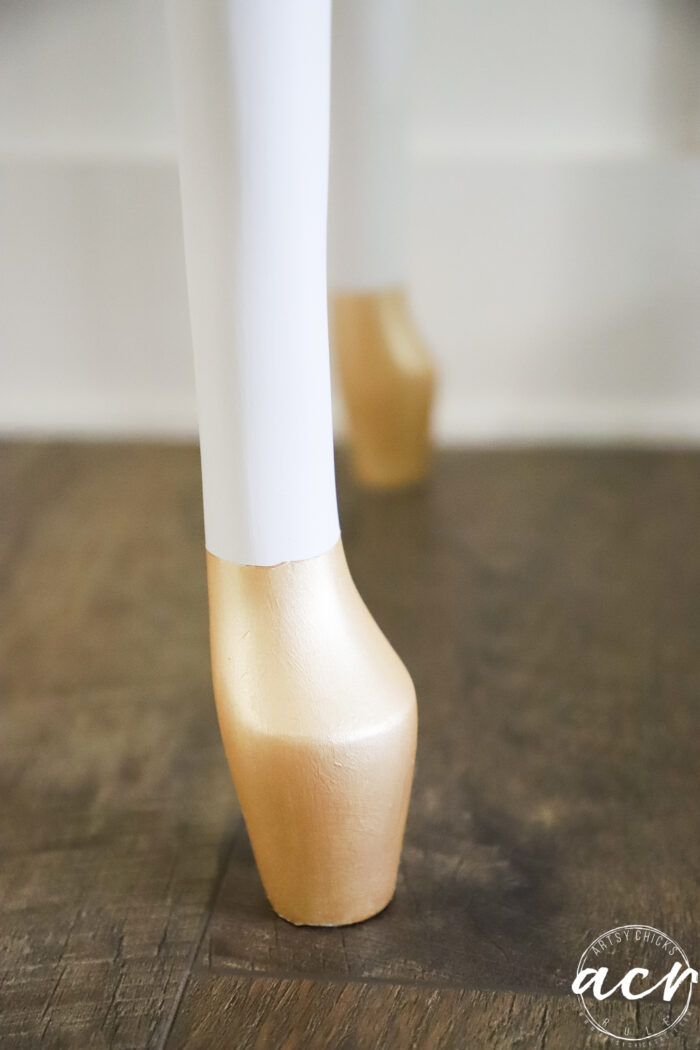
I used our Champagne Gold and Gold mixed about half and half to get this perfect gold shade.
After doing that, I decided the top needed a little gold pizazz too. So I painted these “finials” on each side.
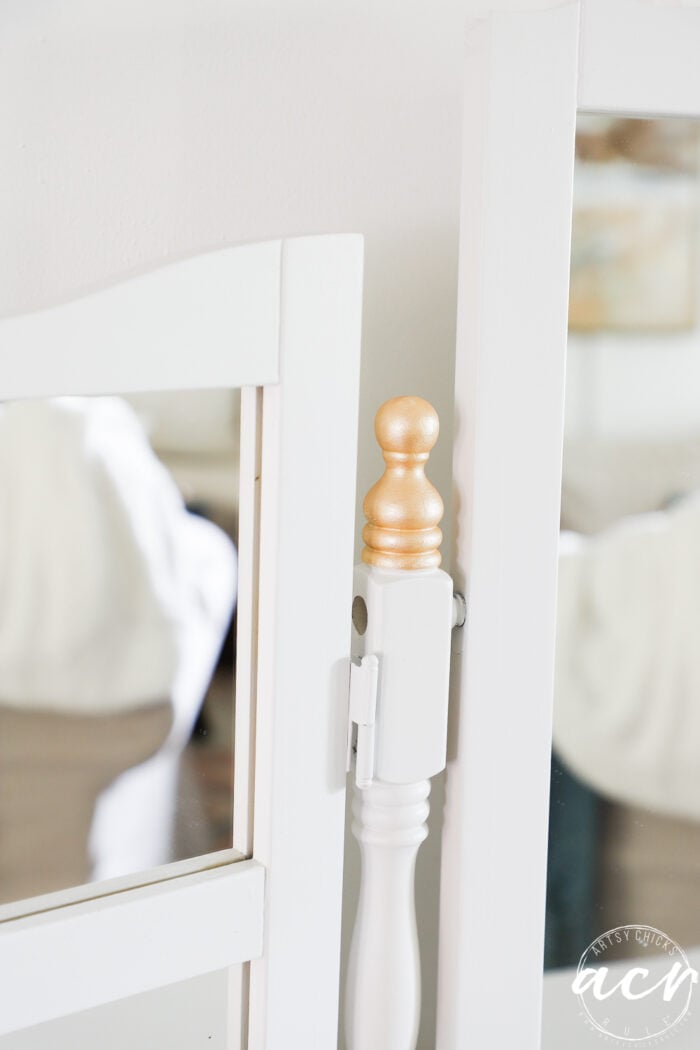
Plus I added a gold and glass knob so there’s a touch of gold on the drawer too.
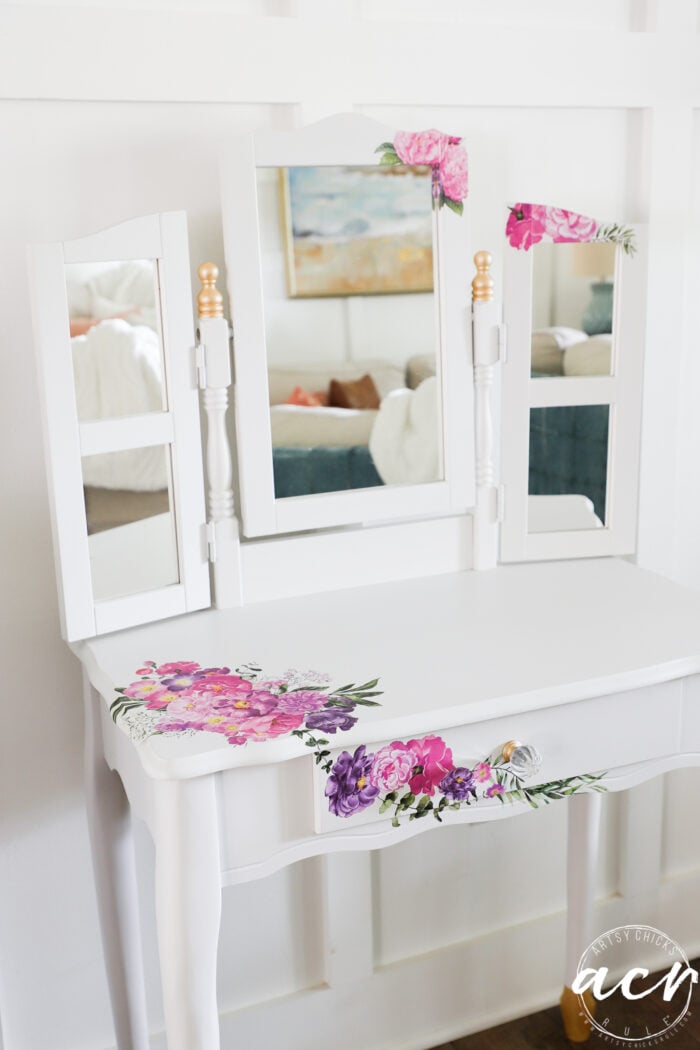
A coat of Tough Coat Topcoat in Matte (all of the things I used are linked in that same box above) and all done!
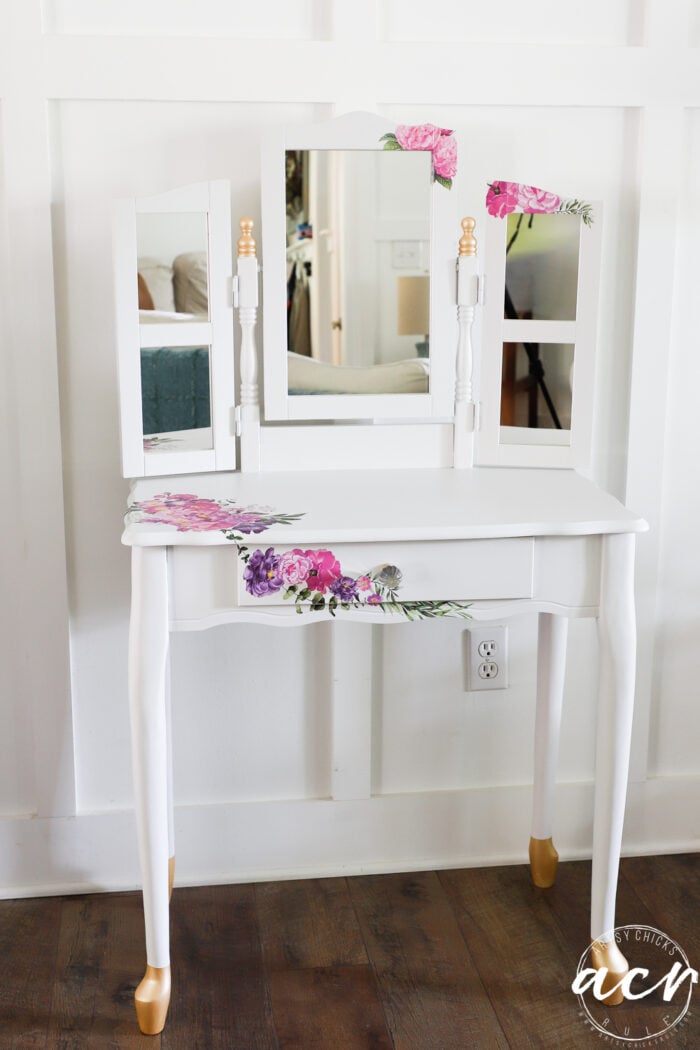
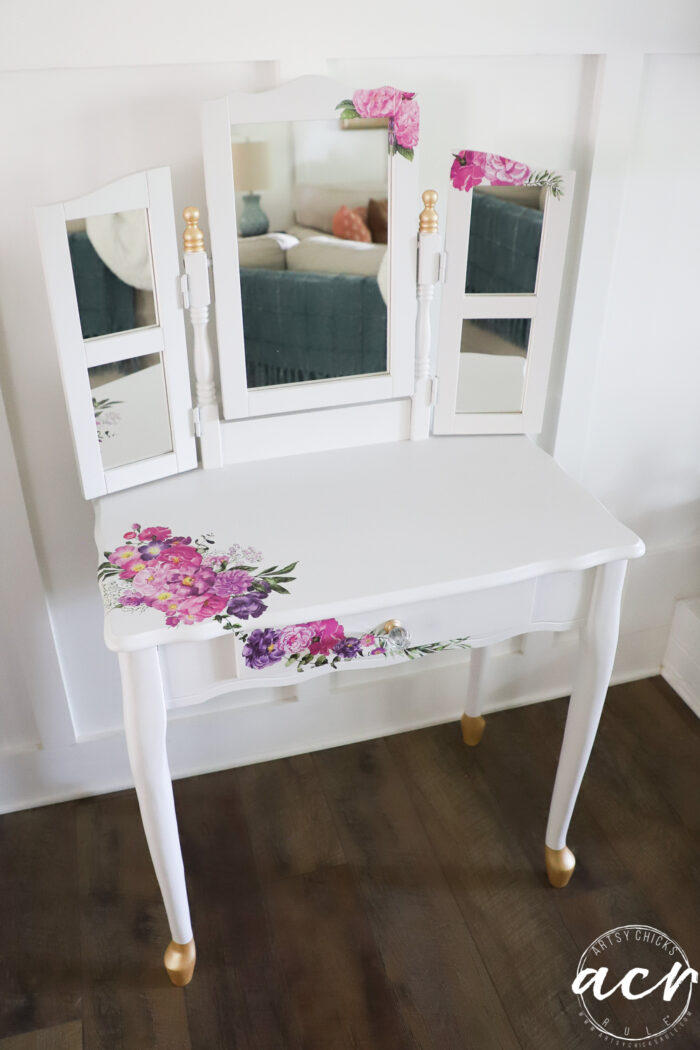
By the way, the side mirrors were originally just glass. I’m guessing they were for photos. However, I broke one of them a while back and decided to replace them all with mirrors instead. (you can find them here…they also have other sizes)
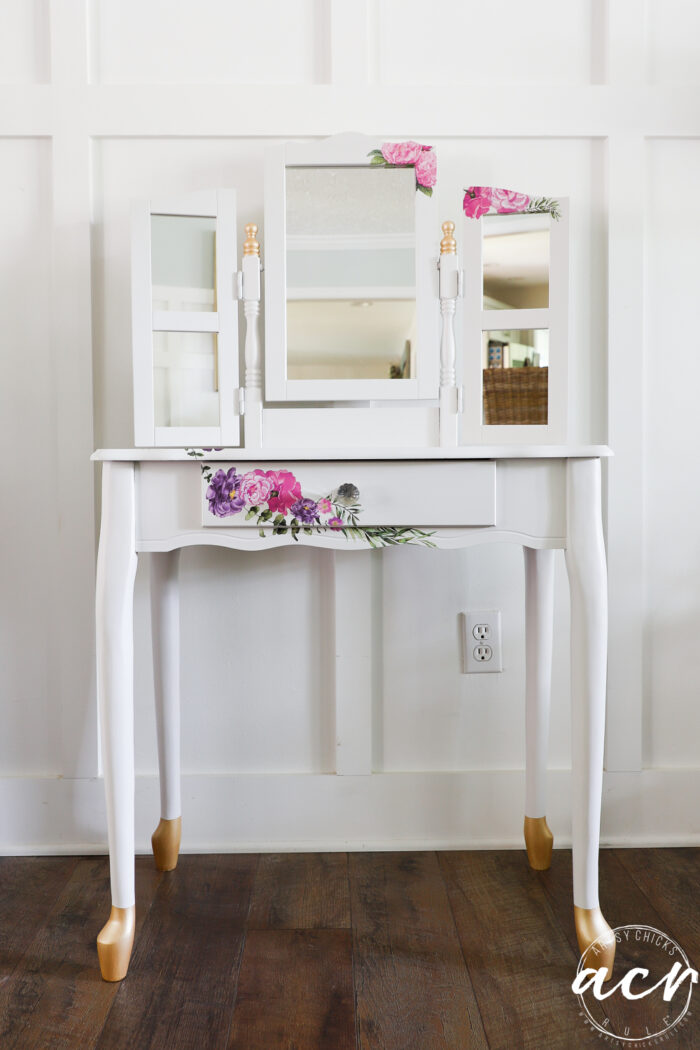
Now I just need to find a sweet little seat I can make over to go with it! Stay tuned, I’ll share it once I do!
PIN it to save it!
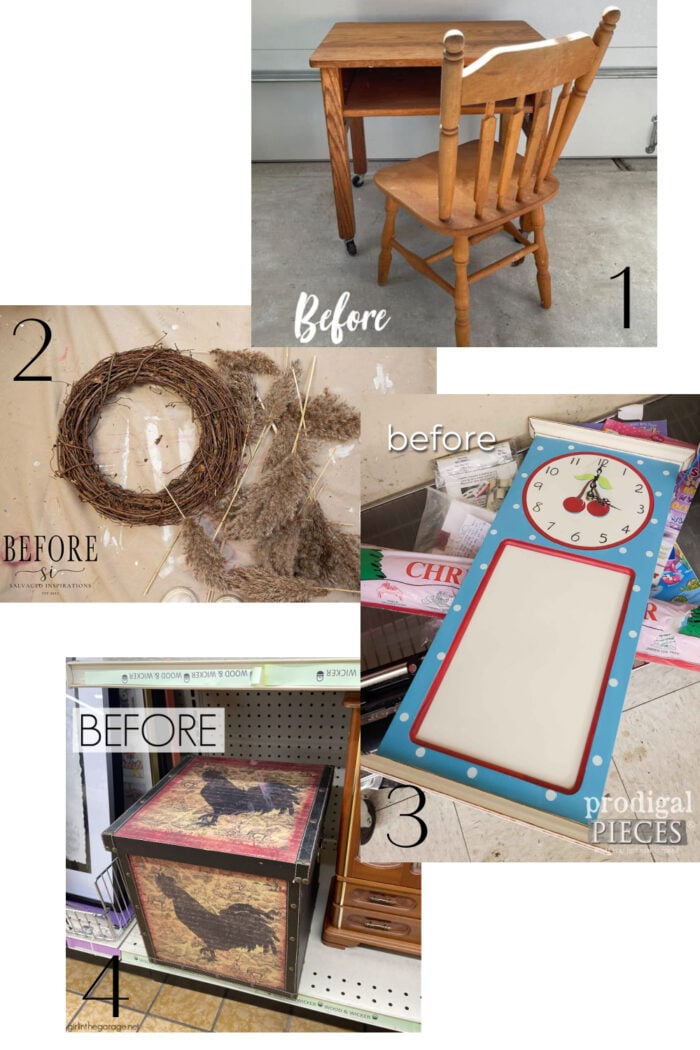
Don’t forget to hop on over to see my friends’ makeovers too!
Have a wonderful week!! See you back here on Thursday!
xo


