Can you paint vinyl?? Yes, you can and I’ll show you how to paint vinyl today!
Hello friends! Wow, I got all mixed up this week with the holiday. I considered sharing on Wednesday and Friday but decided to go ahead and skip Tuesday and share today on Thursday. Anyway…I’m sharing a brand-new makeover today!
But first, we had to coolest thing happen over the long weekend. I was in the garage painting this chair actually and my husband and son were doing things around the outside of the house when some folks came up into the yard. I heard them talking through the garage door but just figured it was a neighbor until my husband came to the interior garage door to tell me that people who used to live in our house were here from out of town and wanted to take a photo of the exterior. How fun!
They lived here from 1980-84, I believe it was. We chatted outside (I think it was the mother, daughter, and niece) for a bit and then I invited them to come inside to take a look. I did warn them they wouldn’t recognize it! 😉
The mother just came in the front door and downstairs and I walked the daughter all through and upstairs. She pointed out her and her siblings’ old rooms and a few other things about how it was when she lived here. Such a cool experience for them and us. I loved being home and being able to chat with them and show them the house. I am quite sure I would love to be able to do the same in the future!
Very nice people and I gave the daughter my card and told her to look up the blog because she would be able to see all the changes we made there plus maybe more of what she remembered when she lived here in the early 80s. (our house had no updates when we moved here in 2004 so I’m sure it looked just how they’d remember it when they lived here years earlier)
…………………………………………………………………………………………………………….
Remember the leather ottoman I painted a while back?
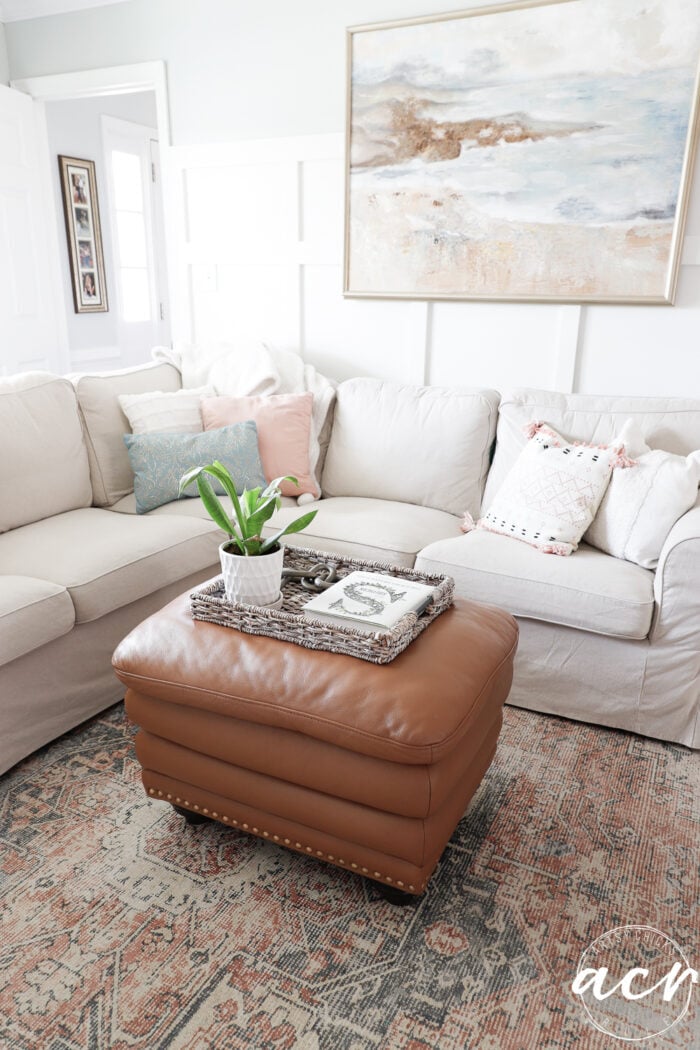
It started out a dark maroon color. Want to see it and how I did it? Check out this post here >>> How To Paint Leather
So in that post, I talked about trying to paint vinyl next. Well, I did it!
Here’s what I learned and how it went.
How To Paint Vinyl
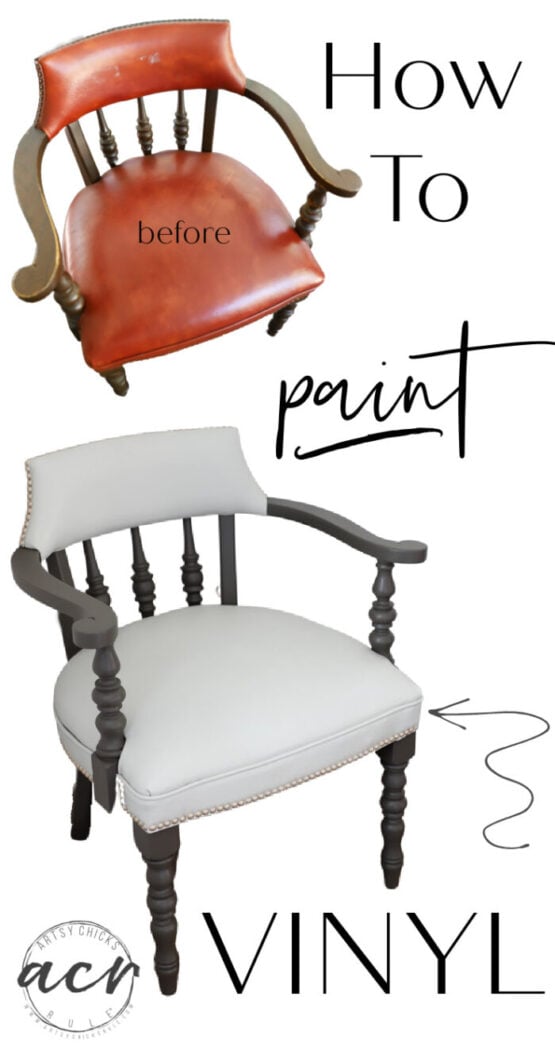
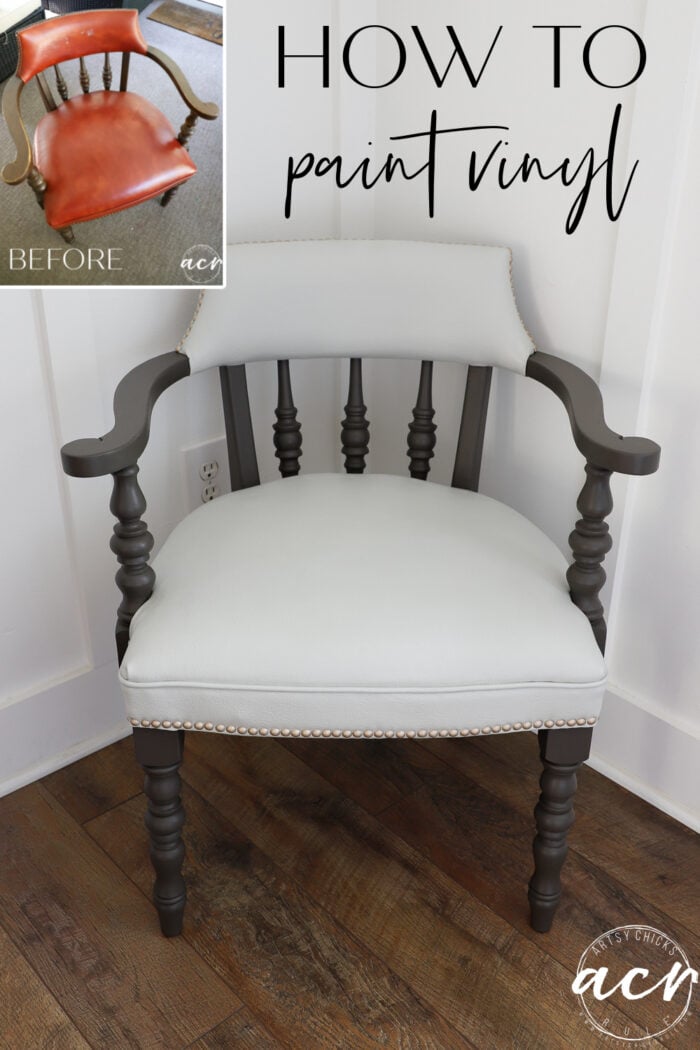
I found this vinyl and wood chair at the ReStore a few weeks ago…
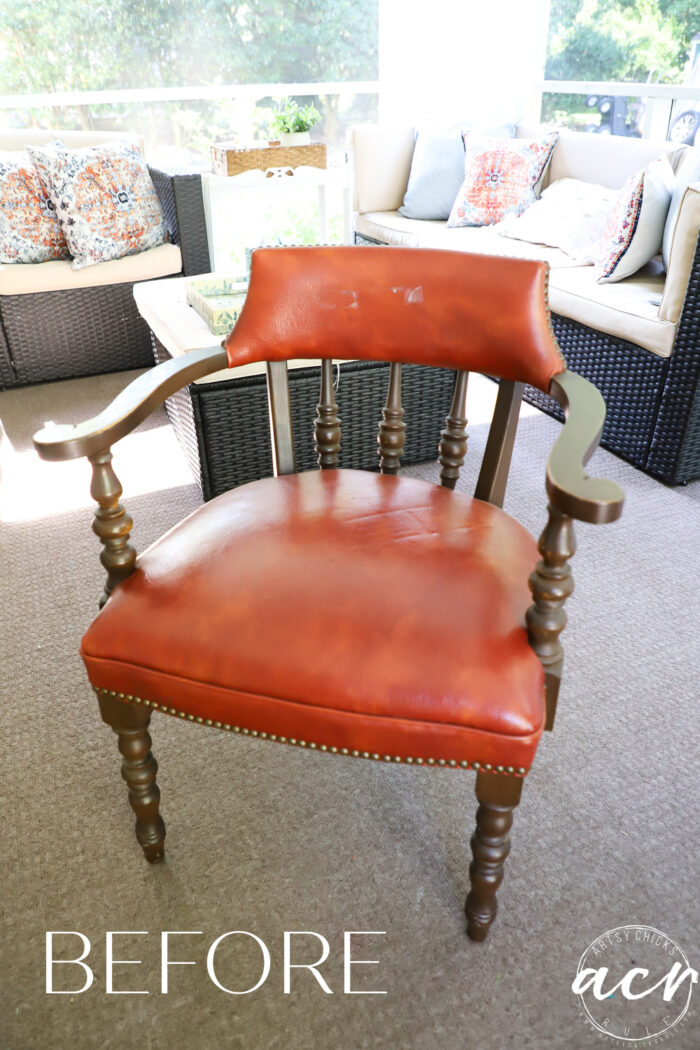
Definitely a bit dated and worn out too.
Pretty darn orange as well, lol!
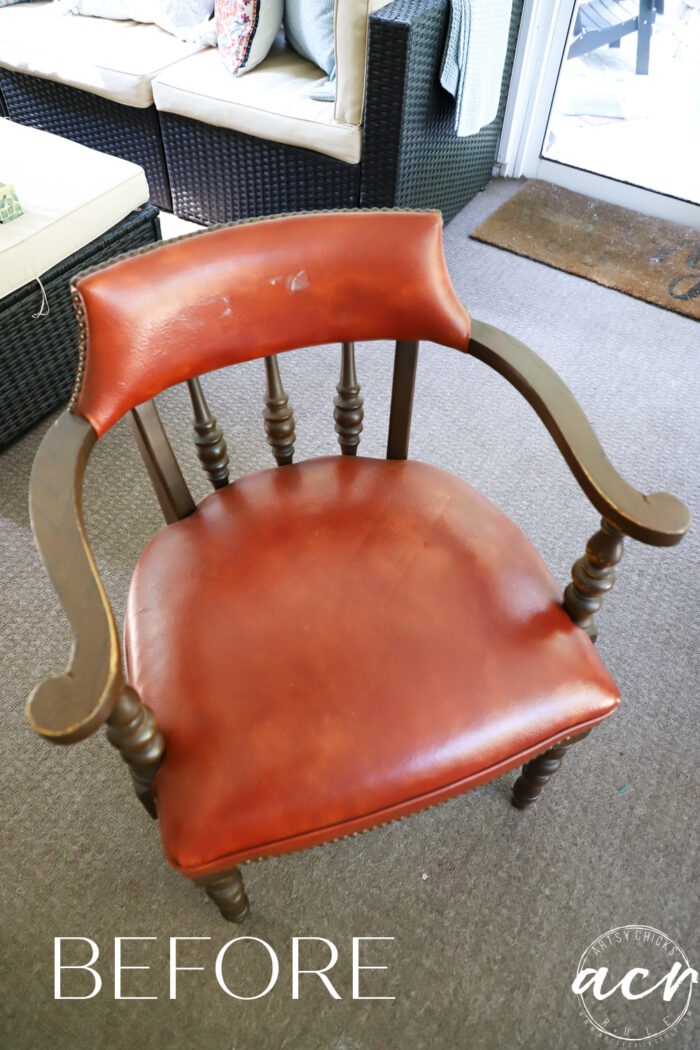
See the arms of the chair?? Missing stain, etc.?
I had considered using our Cappucino Stain & Finishing oil but decided against it.
Instead, I used paint on the wood areas. I’ll discuss that further down.
Here are the products I used for this entire project.
First I needed to decide on colors. I wanted to make this chair much more neutral than it began. So I chose, Pebble. I mentioned in my other post about painting leather, that vinyl can sometimes be sticky when painted OR can resist paint. So with that possibility, I decided to go ahead and use Ultra Grip. Now, I am not sure I needed to but I wanted to be sure it would work and adhere.
CLEAN
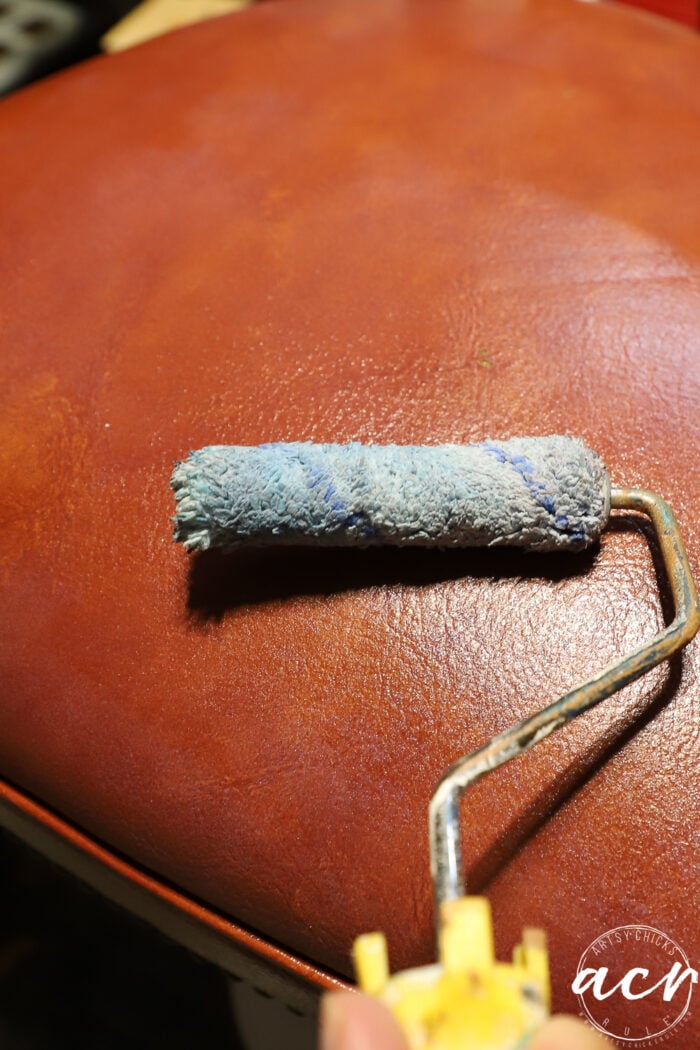
But first, I cleaned it well with TSP Alternative. Then grabbed my paintbrush and roller to apply the Ultra Grip.
APPLY ULTRA GRIP (optional)
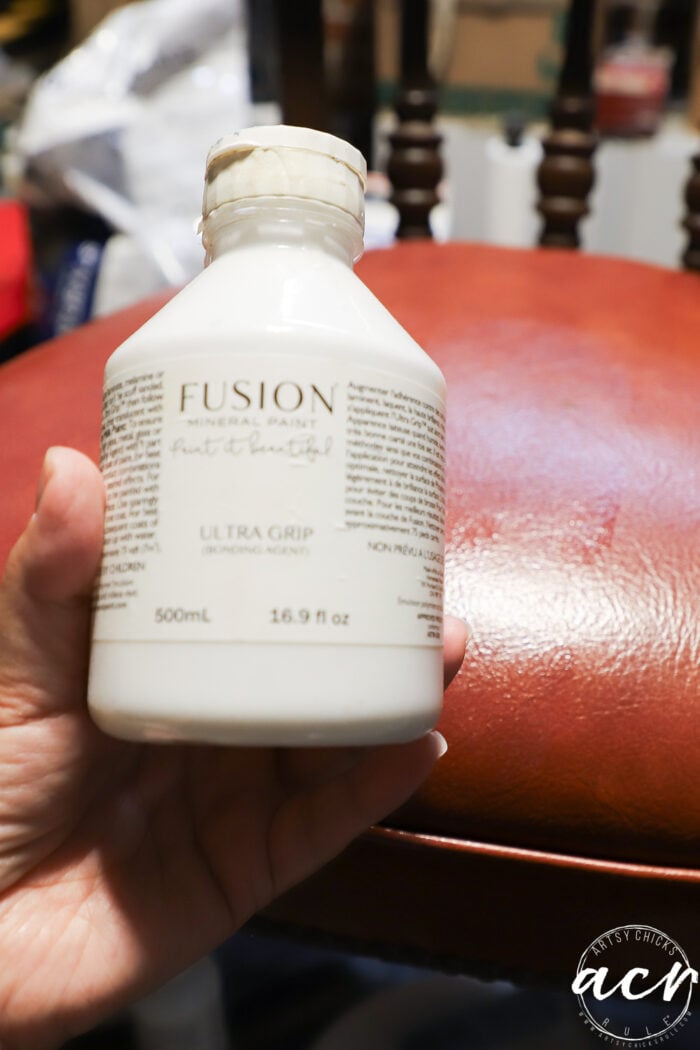
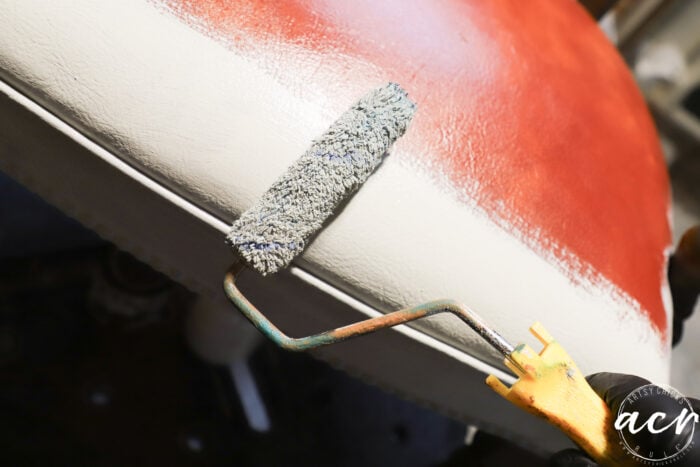
I applied it with the brush around the edges and the roller on the seat area so it would be smooth.
PAINT
I allowed that to fully dry overnight then I started painting. I did the same technique, brush then roll.
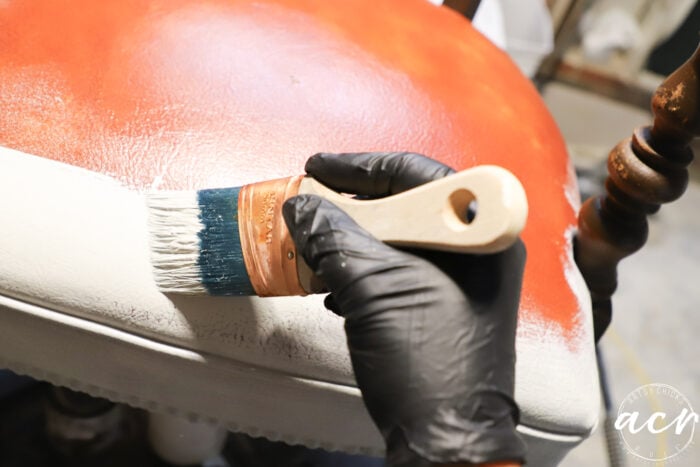
It covered very well. I could’ve almost gotten away with one coat but did two. (drying overnight in between coats)
PAINT TRIM, if any
While I was waiting for coat number one to dry, I started painting the wood areas. I chose Oakham because it’s a gorgeous dark neutral color.
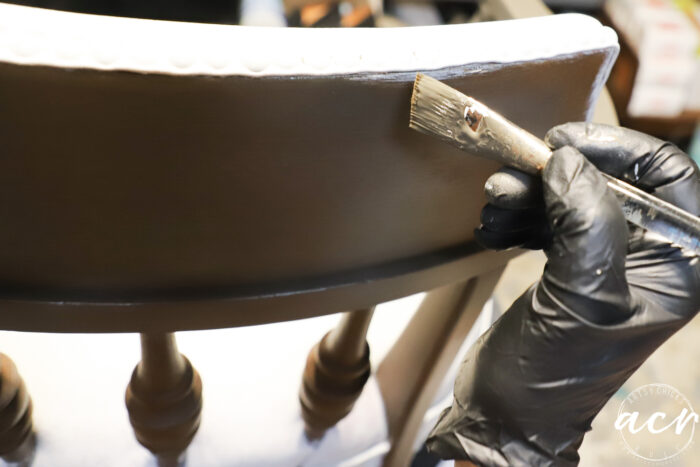
I used this smaller brush to get into all the areas easier.
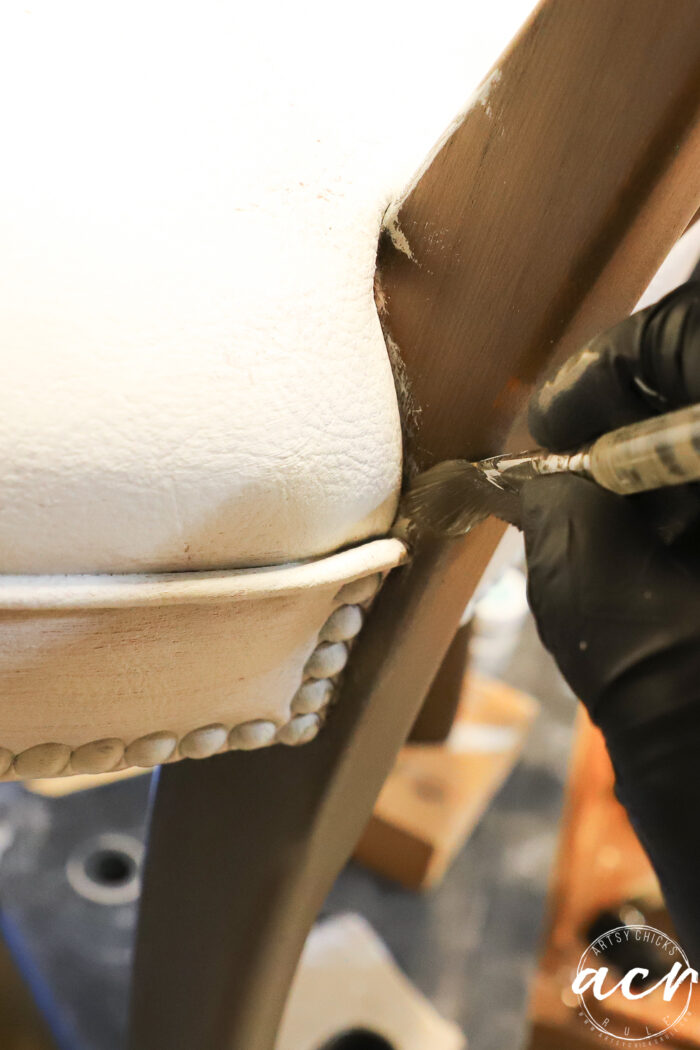
PAINT NAILHEADS, if any
Once the second coat was applied to both (I did two coats of each color), I needed to paint the nailheads.
I decided to mix up some of my German Silver (which is actually sort of “gold-ish” in color) with mineral spirits so it’d be more “paint-like” for easier application.
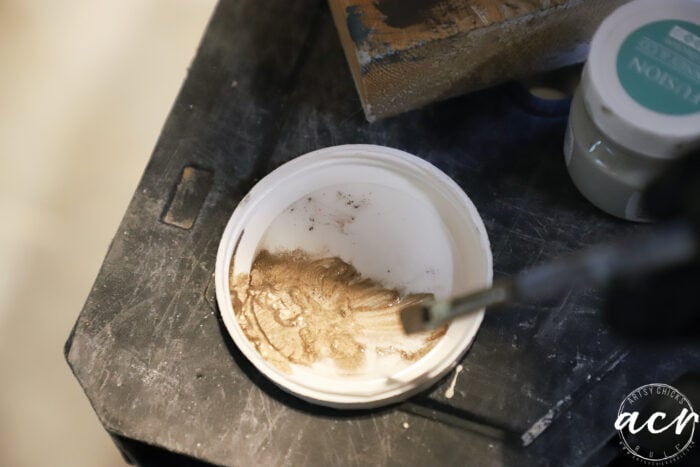
This works very well! (and you only need a tiny bit of mineral spirits)
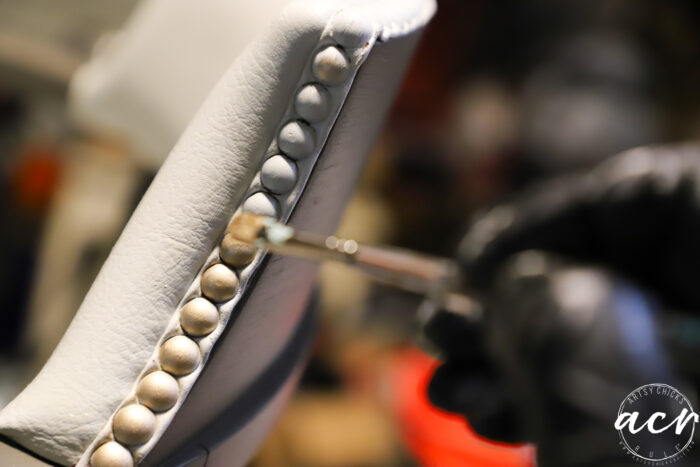
I handpainted them all and done! (yes, that was a little tedious but like I always so, so very doable!)
APPLY WAX TO PAINTED VINYL
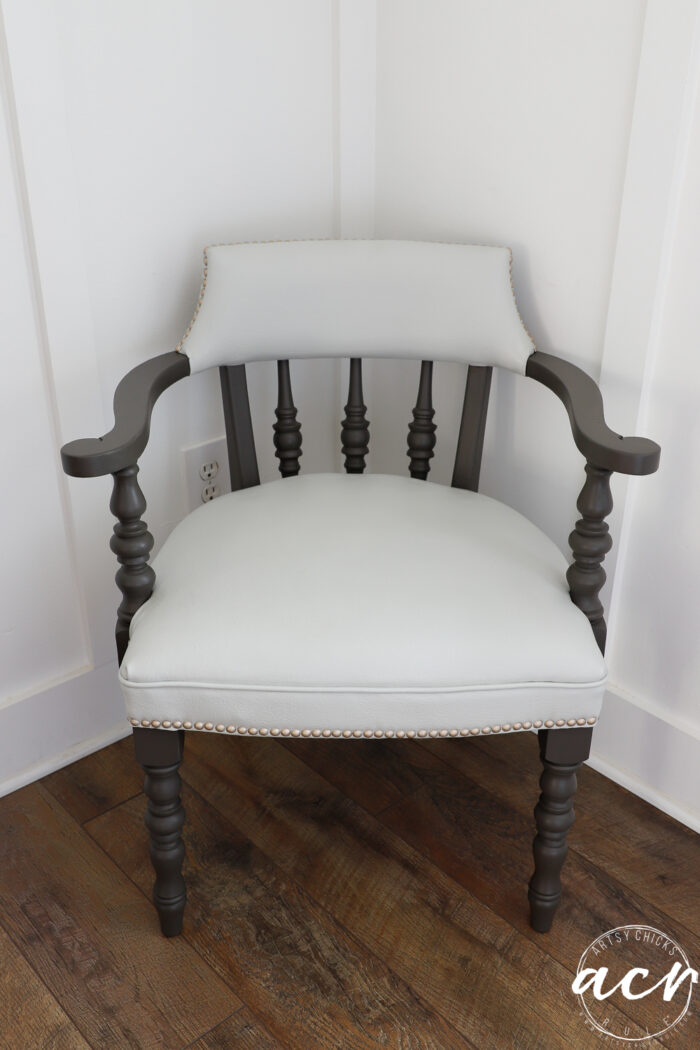
Once everything was dry, I applied one coat of Beeswax to the vinyl and one coat of Tough Coat Topcoat to the wood trim, and done!
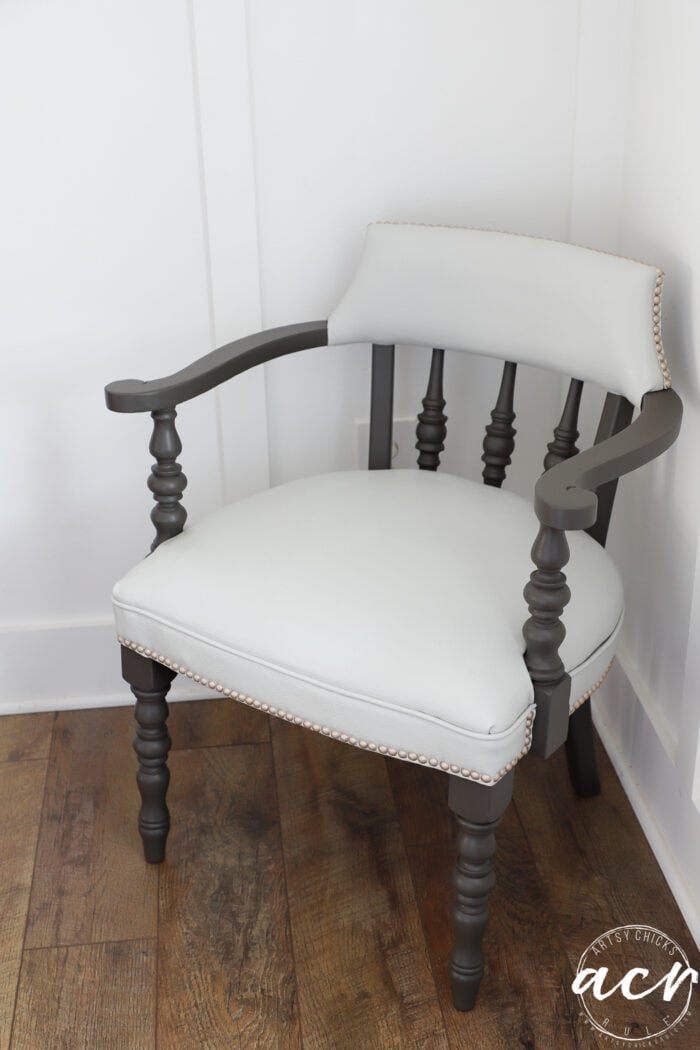
Pebble is the perfect neutral color. Not too white, not too yellow, not too gray.
Isn’t Oakham just gorgeous? Can’t you just see that on a larger piece?? It’s a lovely dark neutral that I can see going with so much.
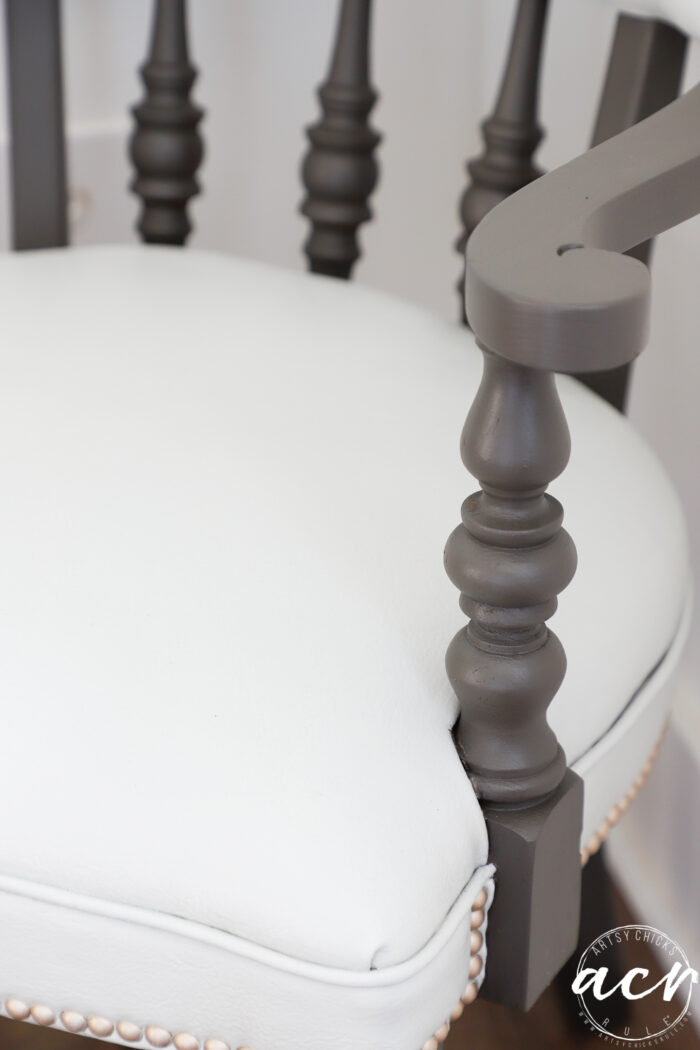
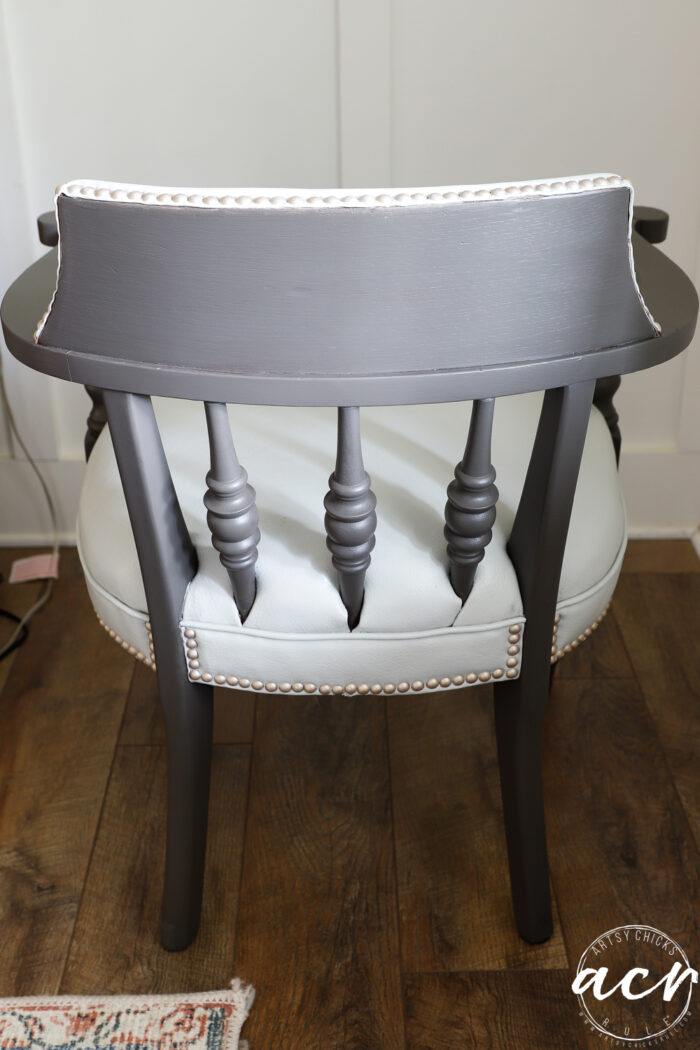
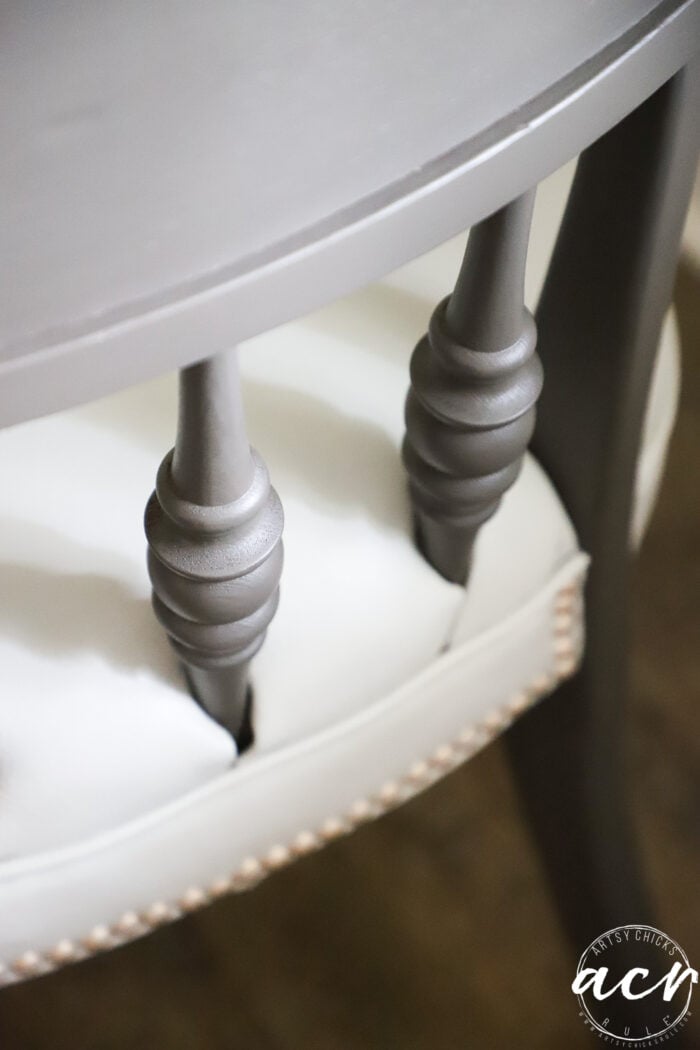
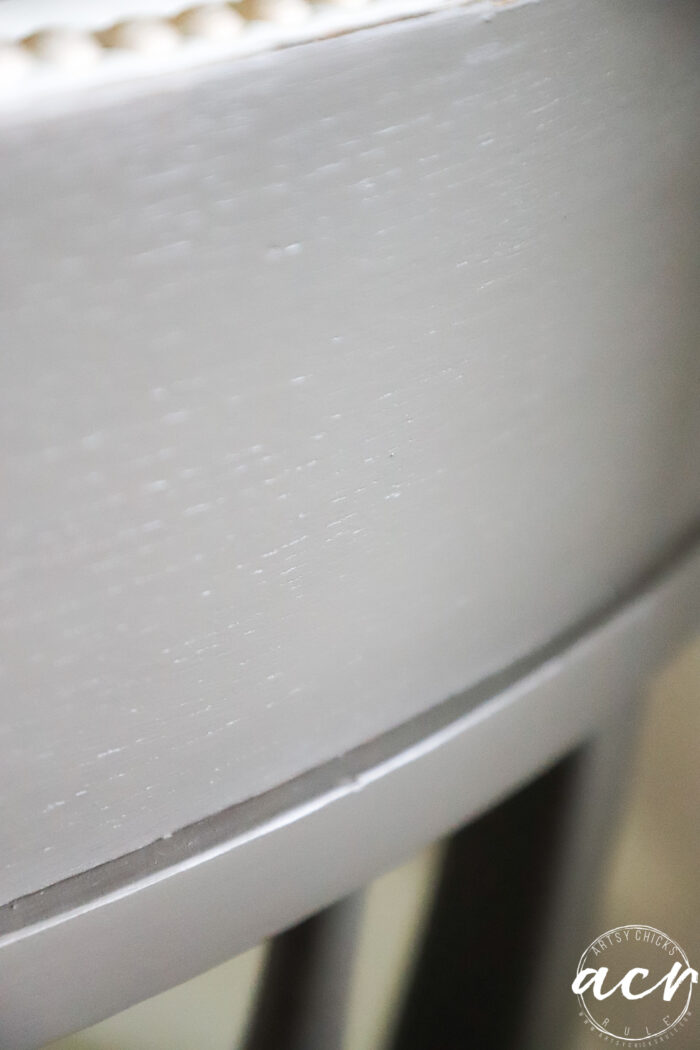
And that nailhead trim looks so pretty in a subtle gold with those colors.
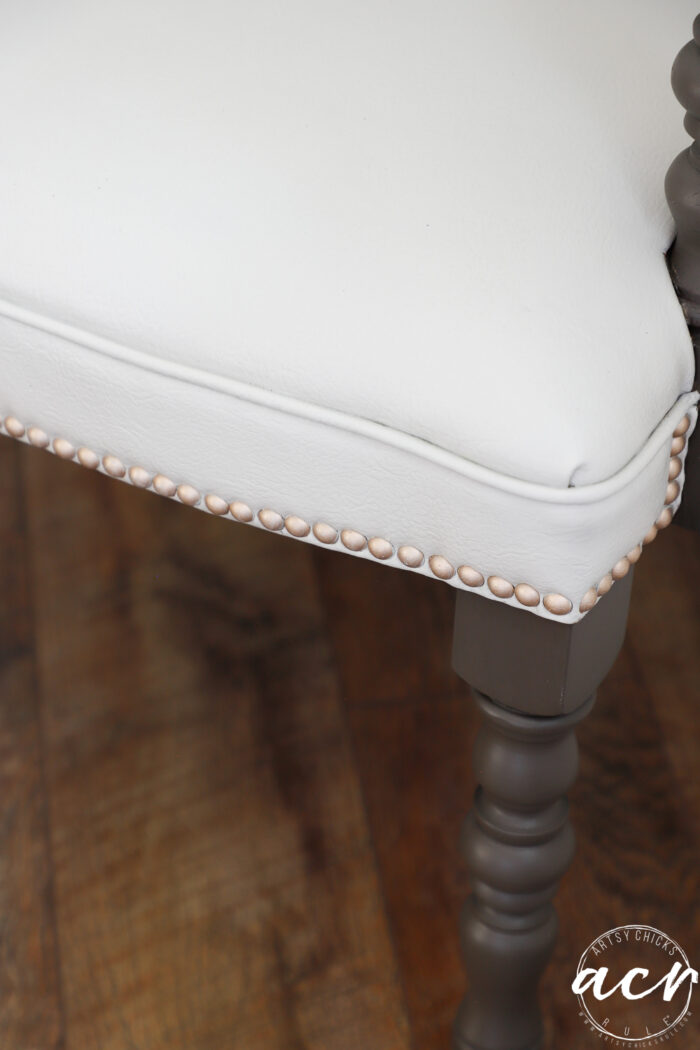
So…is it flexible like the leather was??
Yep!
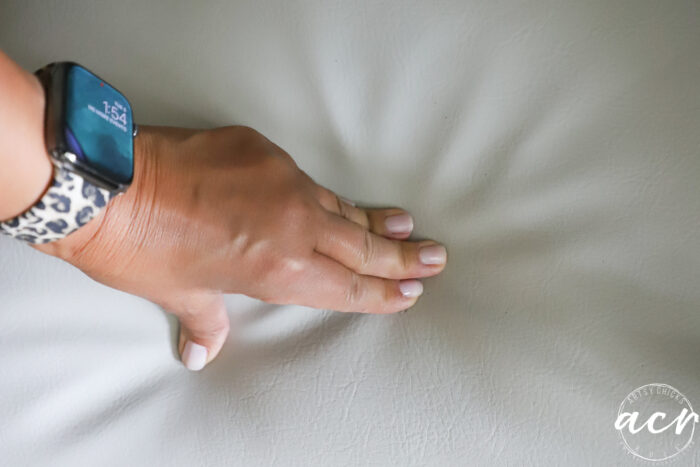
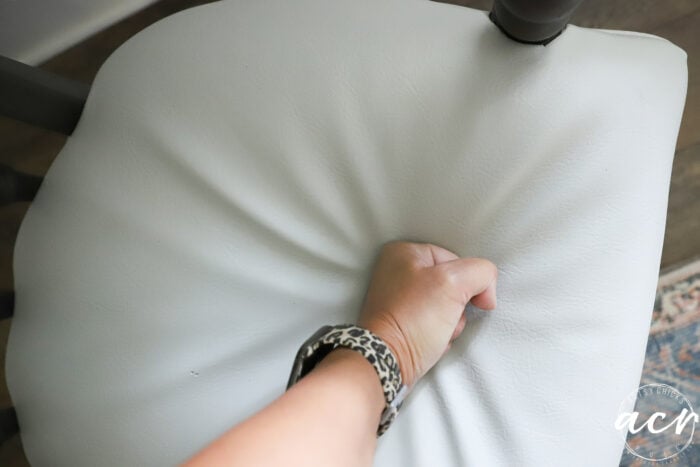
And the other big question…is it sticky?
Yep!! haha!
Well, it was. And I was worried it was going to stay that way. As the days have gone by since I finished it (about 2 days ago), it is no longer sticky. So I’m hoping that means it’s done being sticky. Another option if it’s sticky is to apply Tough Coat Topcoat but I didn’t go that route. I used Beeswax so I cannot try that now. (you cannot apply topcoat over wax) Either way, I am going to keep this one for a bit just so I can see and report back. So far so good though!
AND the paint adhered perfectly, so that’s a win.
I think I will look for 2 more vinyl pieces to paint and try one without the Ultra Grip and one with the Tough Coat Topcoat instead of Beeswax (which is recommended if vinyl gets sticky). You know, just to see. Instead of a new post, I will just update this post when I do! Stay tuned!
I will say, overall I like painted leather more than painted vinyl. I just like the feel of leather better. Vinyl is hard. And it’s still “hard” after painting. Leather is soft and it remained soft even after painting. Still so impressed with the leather painting. BUT if you have a vinyl piece that you want to be painted, I’d say there is no reason not to!
I hope this helped you learn how to paint vinyl. Or at least that it’s quite possible indeed to paint vinyl. Think you’d give it a try?
PIN it to save it!
Oh! And I almost forgot, here are a few of these two boogers. (who adore each other, by the way) Ryder looks ferocious. Then “Hi Mommy, what is it, we are innocent?” haha. But Piper is the one who usually inflicts a little pain, lol, look at the photo closely where she has his lip in her teeth! Ha! They really have the best time playing.

Also, you might notice in the last photo, Ryder’s cheek is swollen on the right side (his left). That is where the growth is. We had to postpone his surgery for multiple reasons but it is scheduled for Sept. 20.
Have a wonderful weekend friends! Remember my Fall Finds post recently?? This one, here. Well, I purchased a few of the things and am going to decorate our porch. I’ll share when I do!
xoxo


